The following are tips and knowledge that we gained over the workshop. We felt that writing it in note format is the clearest way to convey what we learnt.
SAWS
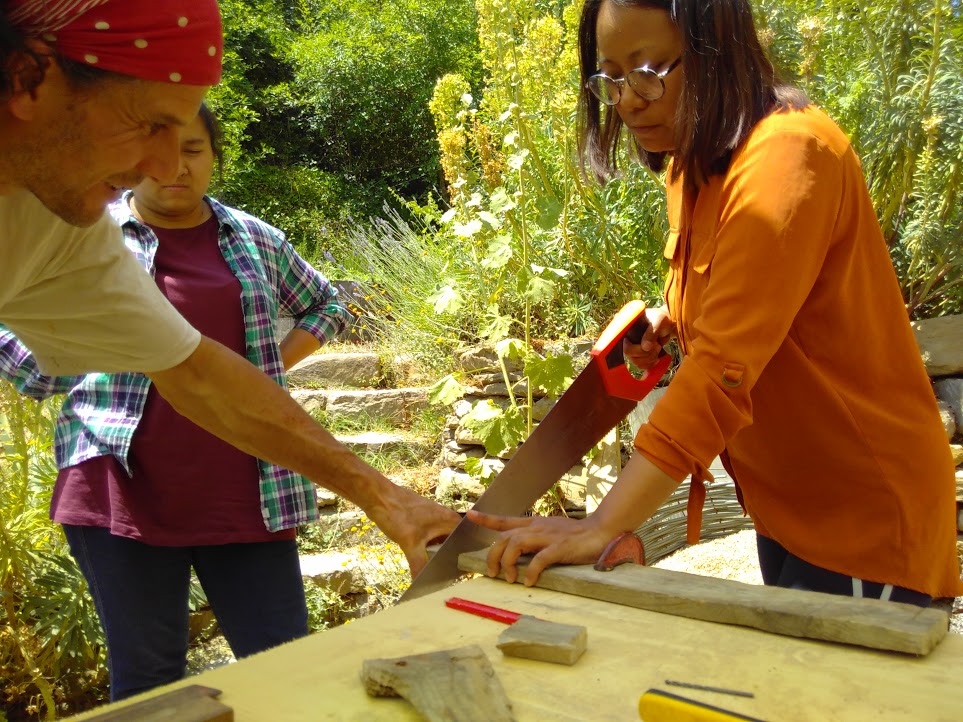
The Pistol grip- pointing your first finger forward helps steady the saw and gives you more control.
To start, draw the saw up, the teeth of the saw will not bite when they are pulled. When you push the saw you have to be light, so that you do not dig the teeth into the grain of the wood.
Being light and not pushing too hard - The blade and its teeth do the work and cut the wood. Putting too much force on the saw will cause the saw to catch onto the wood and make it more difficult to cut. Therefore, being light and moving the saw through the full length is the most effective way to cut.
Being in correct position is important - The elbow being in line with the saw is critical as it allows the saw to cut in a straight line with your whole arm behind it. If you have to stretch to saw, you will cut not cut straight.
Use of clamp- This is important as it holds the wood in place and reduces vibrations when sawing so there is less jump going against you.
Use the whole length of the saw - This way, all the teeth of the saw are used and therefore more of the wood is being cut. Using your whole arm and keeping the elbow in line with the saw will make it easier to do this.
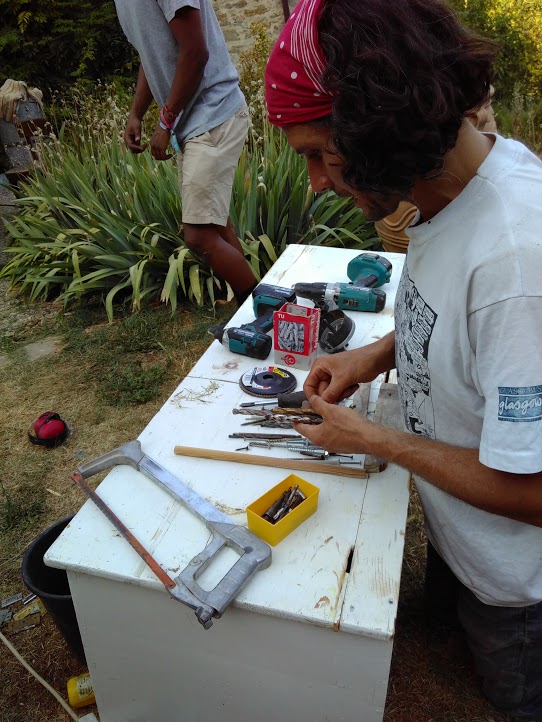
DRILLS
Each materials, metal, wood and masonry, needs a different drill bit. These drill bits are differentiated by the shape at the end of the drill bit.
Wood, Fine sharp points sometimes Three Pointed end
Stone, Blunt looking with a lug at the top
Metal or wood, single sharp end often written HSS on the side High Speed Steel
Settings The drill we used had 3 speeds settings and 3 function settings, Ordinary drill, Masonry / Hammer drill and screw driver. In screw driver mode there is a torque setting on the front that is activated, this automatically stops the screwdriver when it meets a level of resistance, 1 - 20. Using screws in fix plasterboard to timber needs a low torque setting so as not to make dents in the plaster board. The direction of rotation of the drill is also important a button on the right and left flick it from clockwise to anti clockwise. It is easy to forget to change back into the forward setting after using the reverse setting.
We used the drill mainly for making “pilot holes” to stop the wood splitting when using the impact driver.
IMPACT DRIVER- This looks like a drill but is a smaller, it is a dedicated screw driver with a hammer action that drives small or very large screws.
Screws and bits: It is Important to match the correct size bits as they with the size of the head of the screw. If not, the bit will either jump out of the screw head or the bit will become blunt or break.
The speed of the impact driver is controlled by how hard you press the trigger, it is recommended to start at a slow speed at beginning then faster at the end. This is to ensure the bit does not jump out of the screw head. In doing this, the wear on the bit decreases and it is more likely to last longer.
The shaft of the driver and screw must be straight so the driver bit does not jump out.
SANDING
Orbital sander - This hand held electric sander the pad of the sander moves in a mix of rotation and side to side, this ensures that there is not endless rings of marks left by the sand paper as happens with regular disc sanders. It is great for sanding larger areas of wood painted or otherwise. The orbital sander has holes in that suck up sawdust into a bag. Velcro is used to stick the sand paper to the tool.
It can be moved in any direction and you have more control over than a disc sander which tries to drag your hands in a certain direction.
By hand - Sometimes it’s more suitable to sand by hand for smaller and more difficult to access areas. Sanding by hand, at an angle on edges and corners of the wood also helps as a greater area is covered and produces smoother surface.
ANGLE GRINDER:
The angle grinder has multiple uses. It can be used to trim metal, especially nails and screws. It can also be used to smooth metal surfaces and sand timber surfaces. This is because you can change the disks of the angle grinder.
To change the disks of the angle grinder, you need to press a button to lock the disk in place, then unscrew the centre disk holding the actual disk in place. A thin fibre cement and resin based disk can be used to cut metal, nails and screws, while a thicker ceramic based disk is best for grinding metal. A thicker sand-paper surface disk is used to smooth timber surfaces.
Using the Angle Grinder for sanding timber – Wit a coarse sand paper, the angle grinder takes more off the surface than the orbital sander. However, since it only spins in one direction, it produces a slightly uneven surface. The guard on the tool also limits manoeuvring when sanding.
Using the Angle Grinder on metal - Grinding metal requires more technique since cutting metal creates sparks. These sparks are tiny hot metal particles; hence safety is important when cutting it.
Positioning when using it - The sparks tend to go back and down to the ground but some go forward and to the left due to the guard. You must ensure you are away from people or at least that no one is directly in the line of the sparks. Goggles and earmuffs are highly recommended due to the sparks and the noise of metal grinding on metal.
The angle grinder requires a lot of control as it is a high-speed spinning tool. The spinning action can drag your hand in a different direction if you are complacent
PLANER
The planer tool is used to take off thin layers off the timber ie to plane surfaces.
The adjustor knob at the front of the planer is used to adjust how deep the planer will cut into the surface of the wood. Control is key as this is a strong machine and can drag you in the wrong direction when you are not fully concentrating. You must ensure that the planer is flat or in the angle that you want when you use it. This is so that you can achieve an even plane.
If the planer is not flat or in the right angle when the tool is on, dips can form in places. When this occurs, you will need to raise it slightly to overcome the dip and continue planning at the desired level.
Control is key as this is a strong machine and can drag you in the wrong direction when you are not fully concentrating.
ROUTER
The router is used to shape edges of or cut grooves in timber. This is useful as it makes a consistent shape. We used it to take the sharp corner off the edges. It can help reduce splinters, grazes or cuts from the timber.
The router bit is at the centre, while the router guide surrounds the bit. This guide is adjusted up or down. When adjusted to the right depth, the guide is held in place by a screw.
Hold it in place to the edge you want to cut. It must be turned on first and then moved to the side of the edge and dragged in the direction you want. To turn it on, you need to press the button on the side first, and then on the front.
It must be kept steady when it’s on as routed edges could become uneven. This particularly applies when you get to the corners. It is best to only drag the router backwards, left or right without turning the actual router.