Scuola Borgo Antica Update

Hi to everyone from UWE who came to Rimondato for the school refurb. A little update.

Last night it was announced to all the parents that the school will be having a major make over this summer holiday and through till March next year. The refurb was planned for 2 years time, but they have brought ir forward, found the funds. I m sure that our presentation that clarified and dmonstrated ideas helped. ...

SO they are putting in the full height windows to the classrooms, Making the link between the balcony and teh main space, OH an putting in the openning over the stairs. There is a new air source heat pump going in and the building is being insulated..... THE kids well while teh work is going on they will have to make do with the Boubon Castle for a school. The Director said thathe was thinking the kids might need medieval costumes to match...

Thanks again everyone. The mayoress, The director Massiomo and the Team from Monte send a big thank you..

Screen Shot 2018-03-14 at 09.33.57.png
Screen Shot 2018-03-14 at 09.34.16.png
Screen Shot 2018-03-14 at 09.34.41.png

Scuola Update 1 The NEW Look

Hi Scuola Team. I see a post thought I put up earlier may not have hapened so.

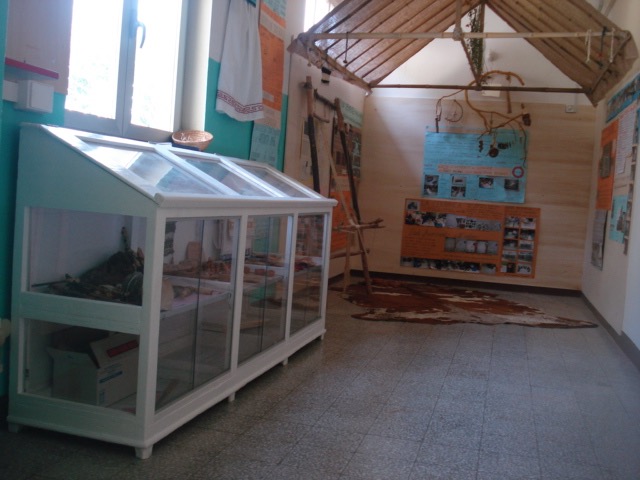
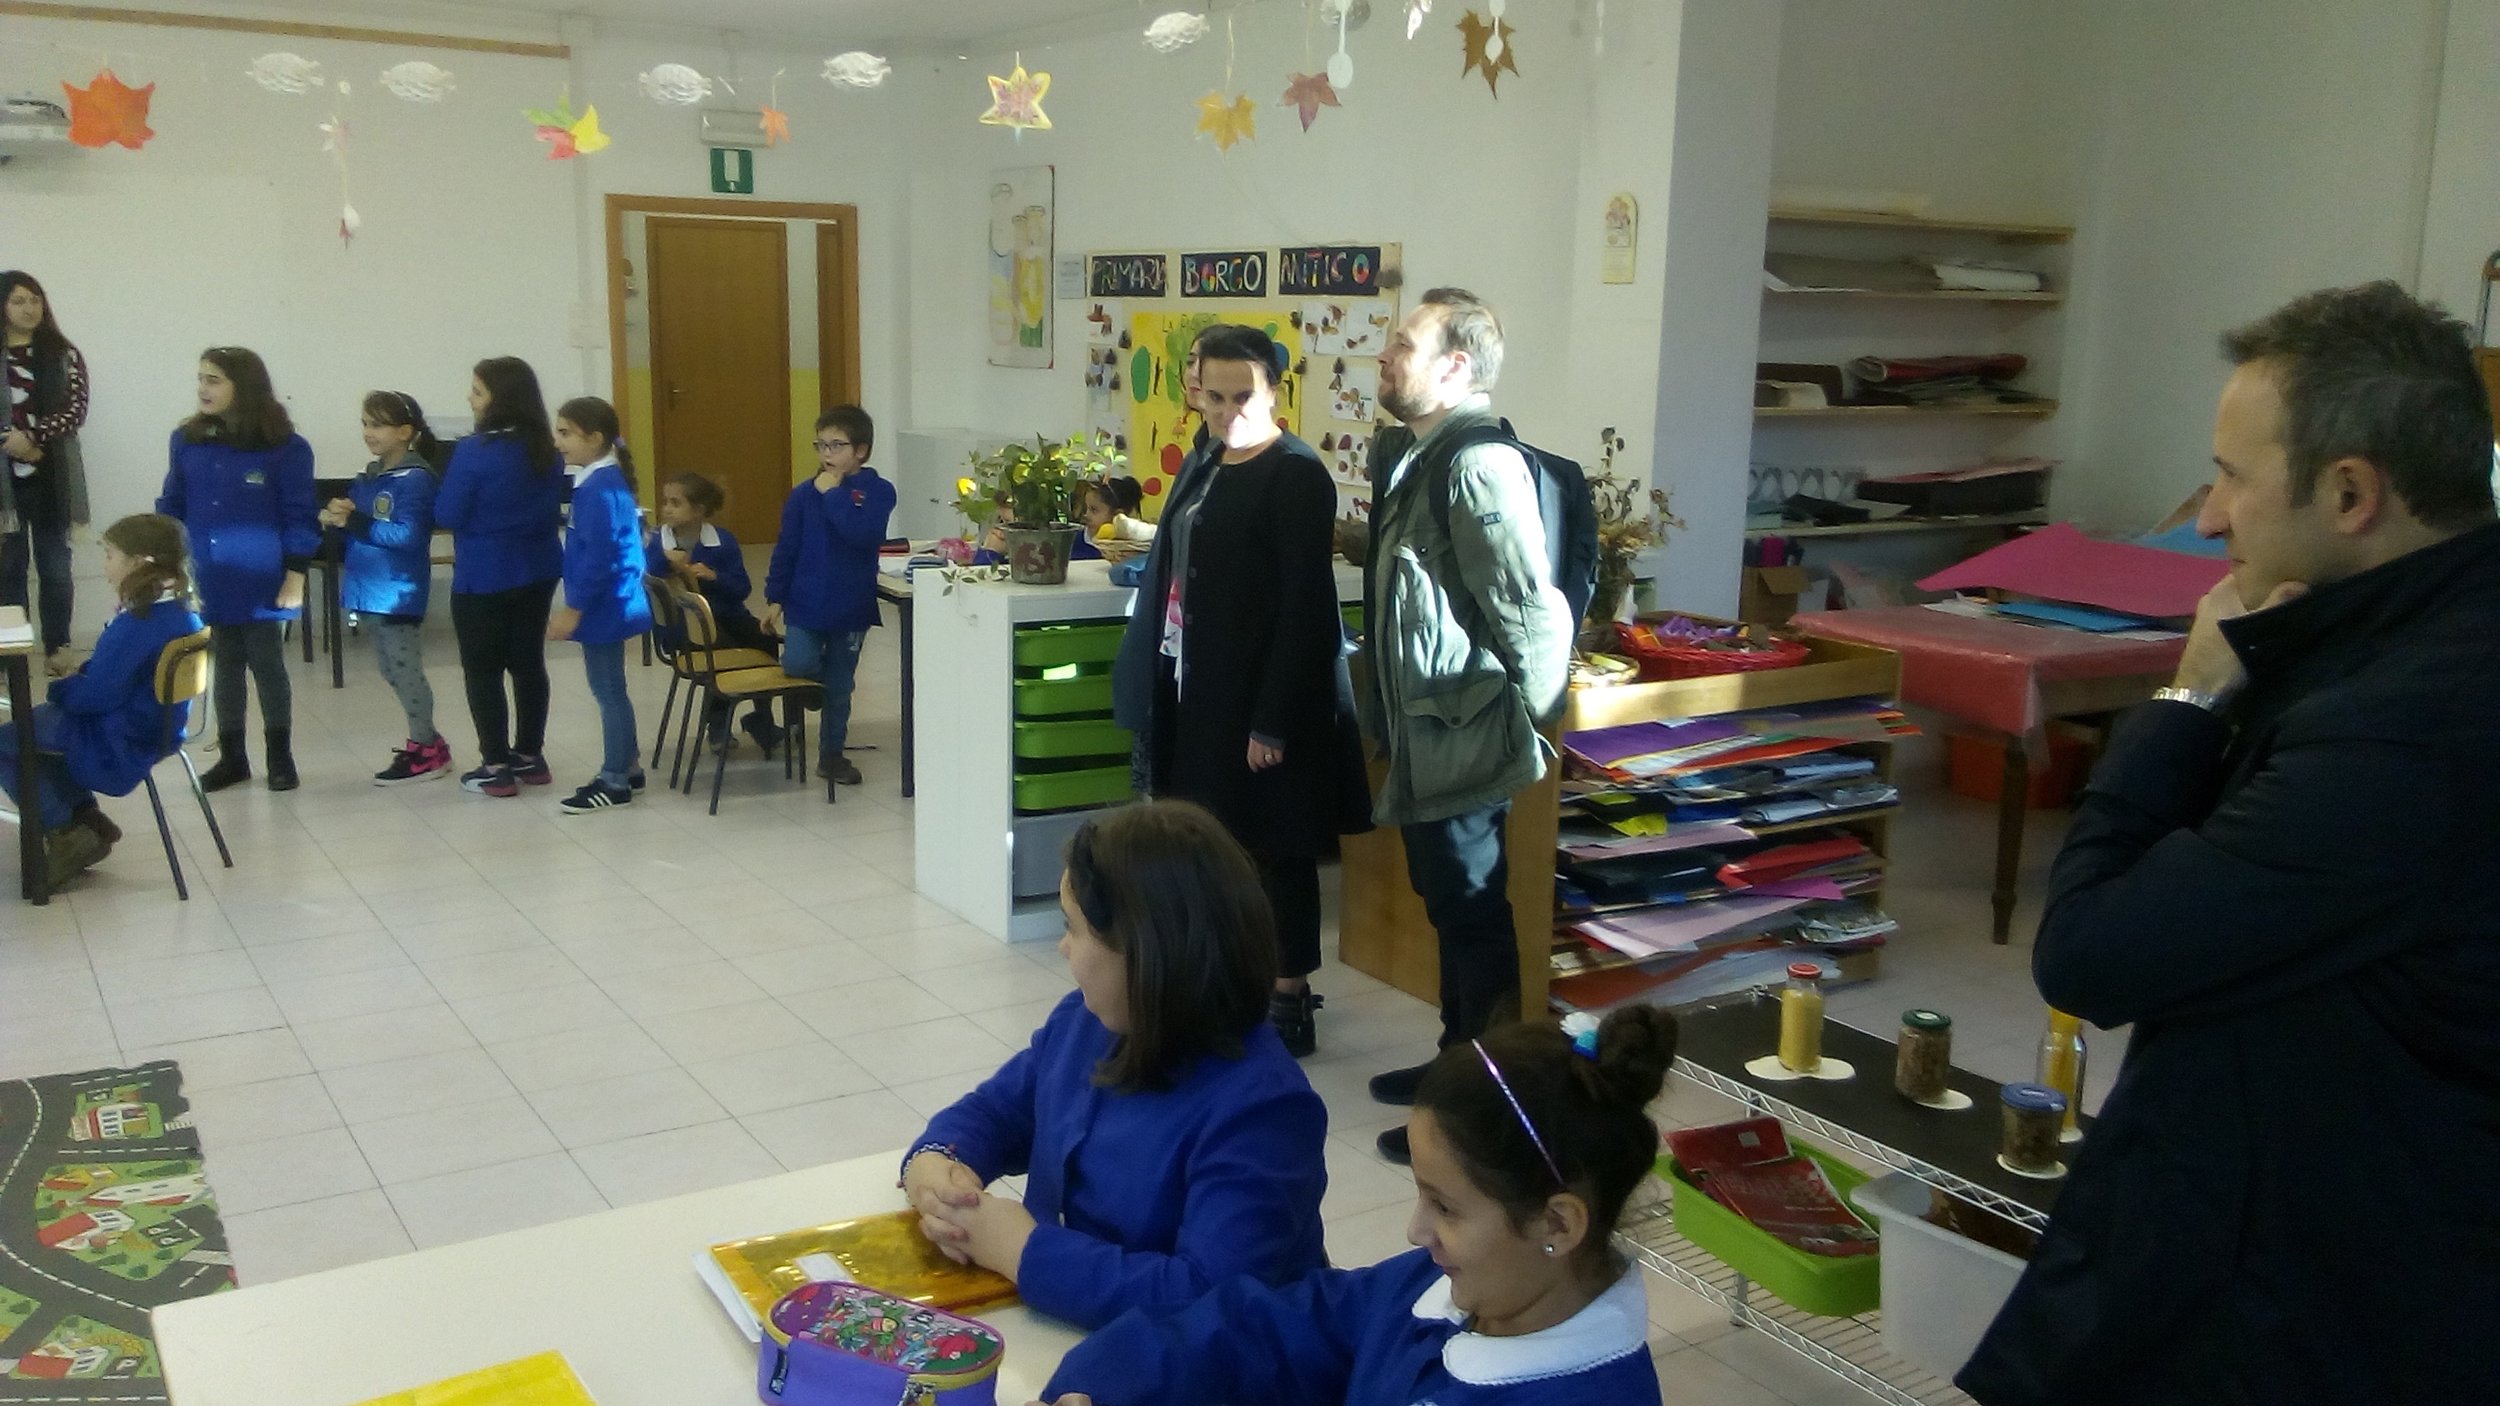
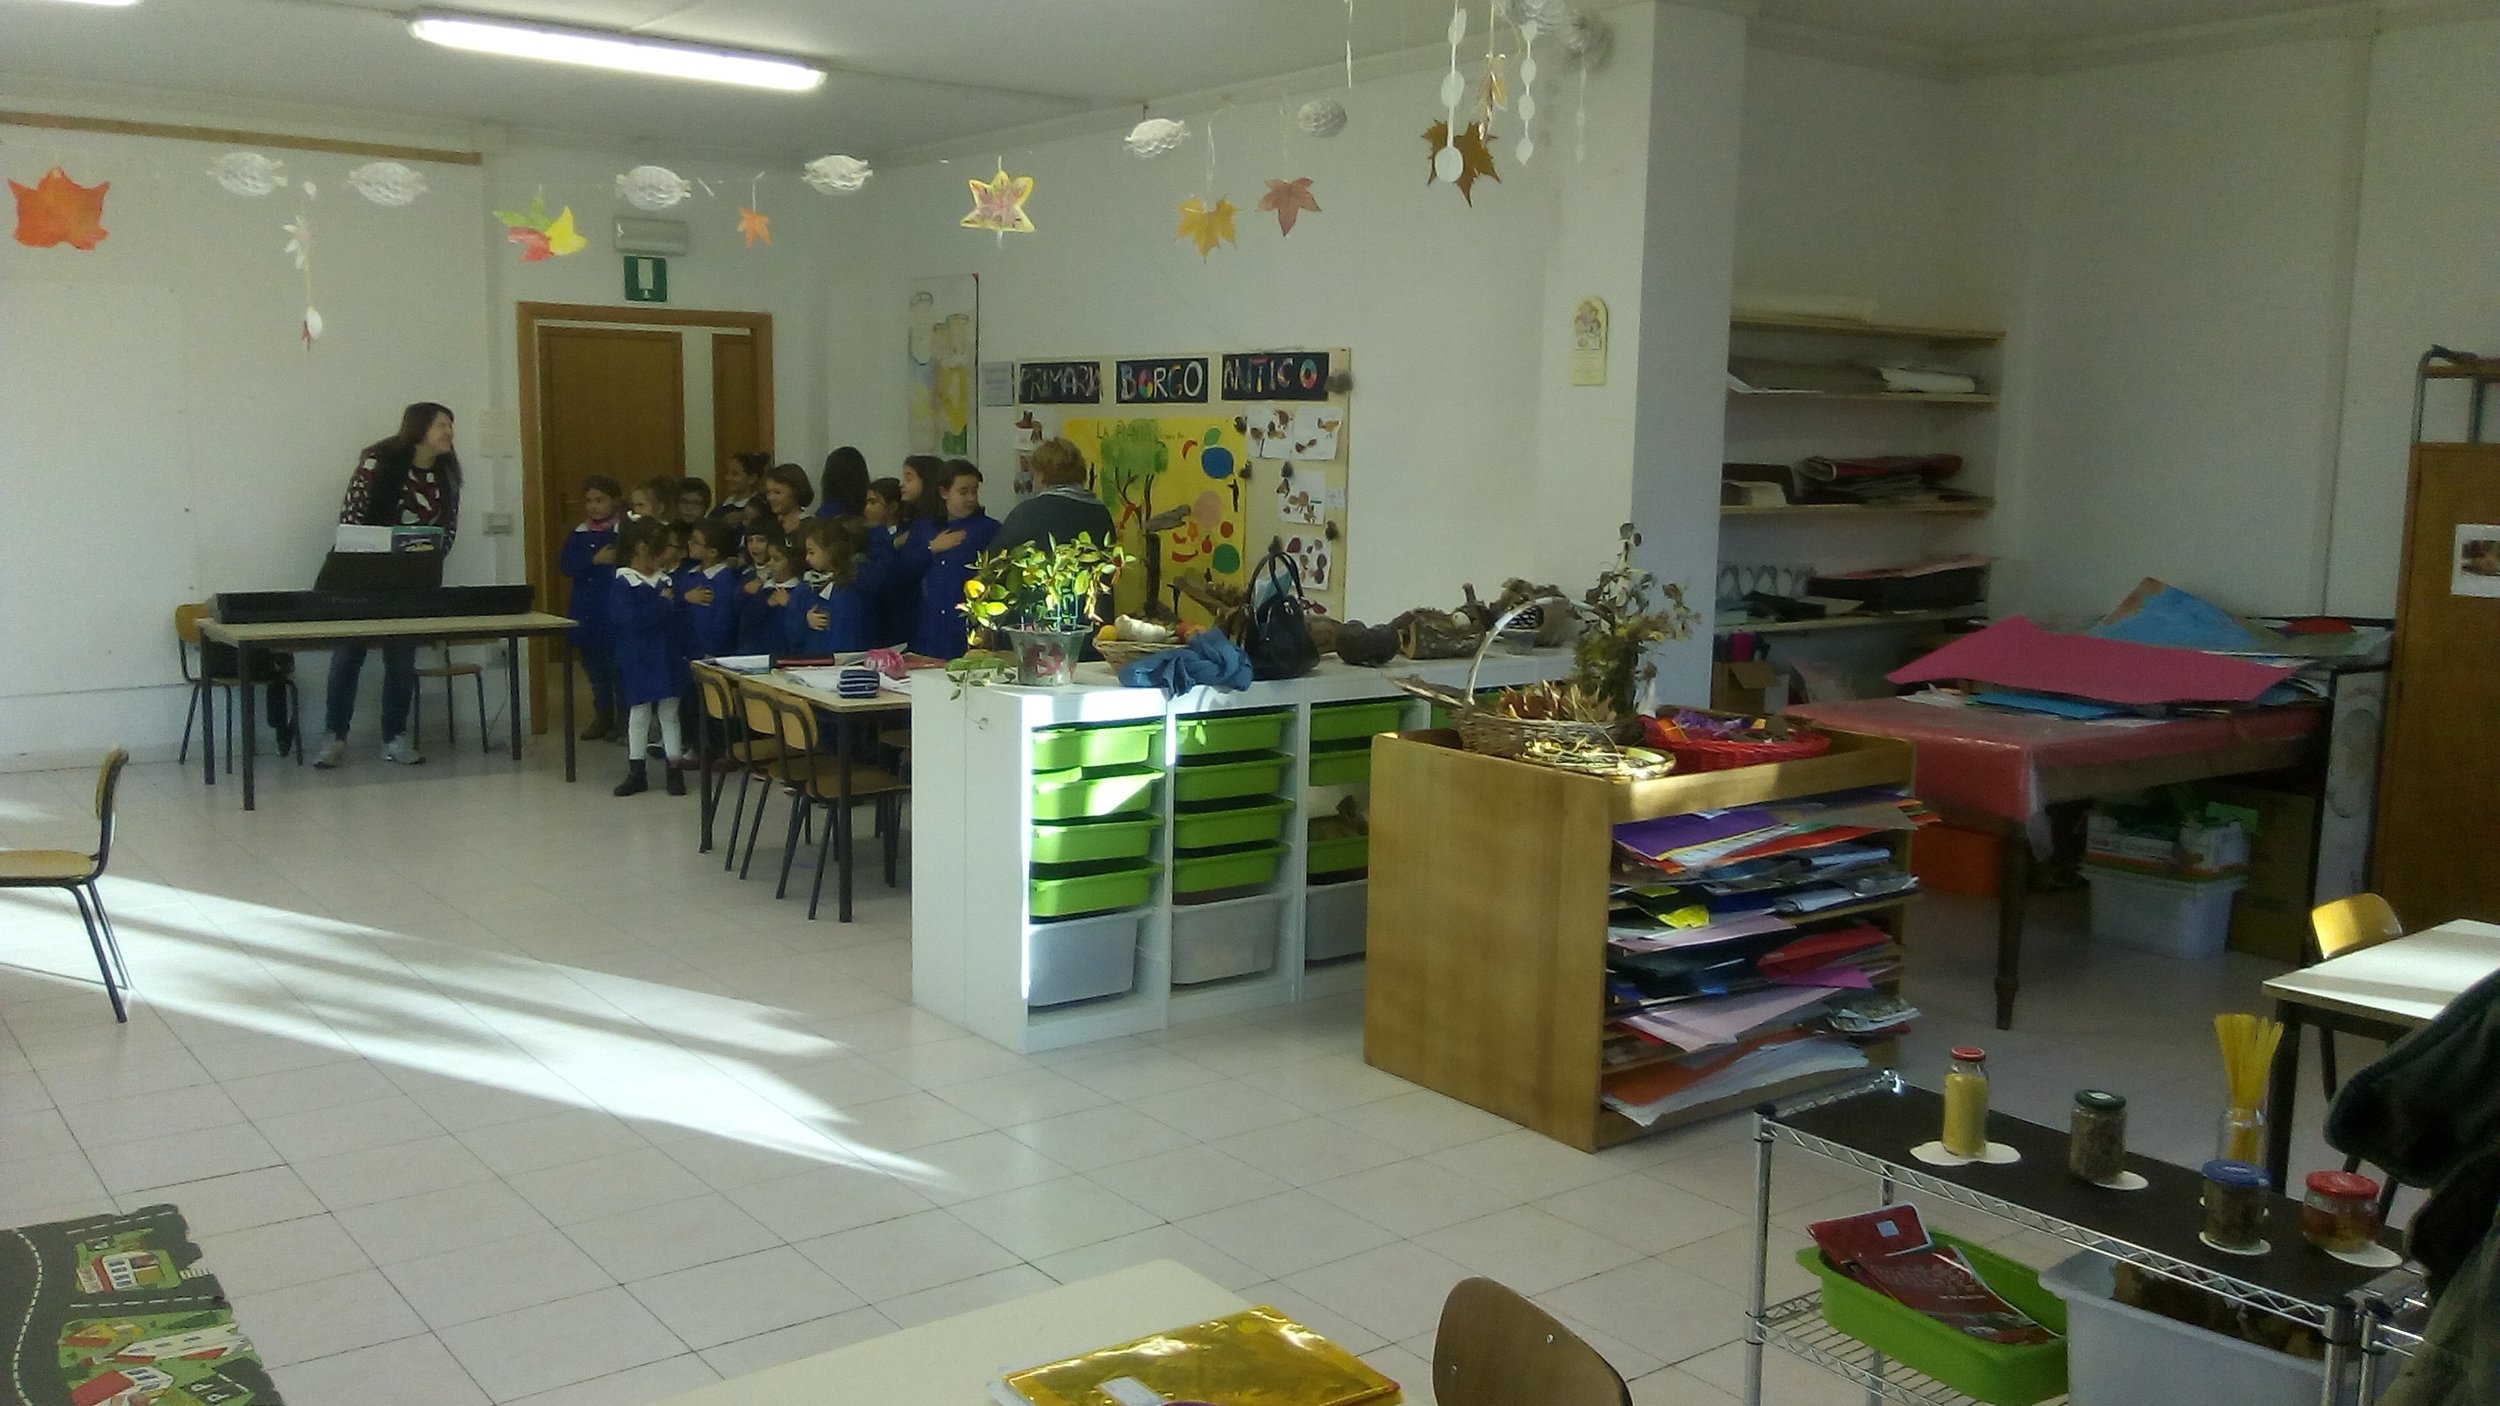
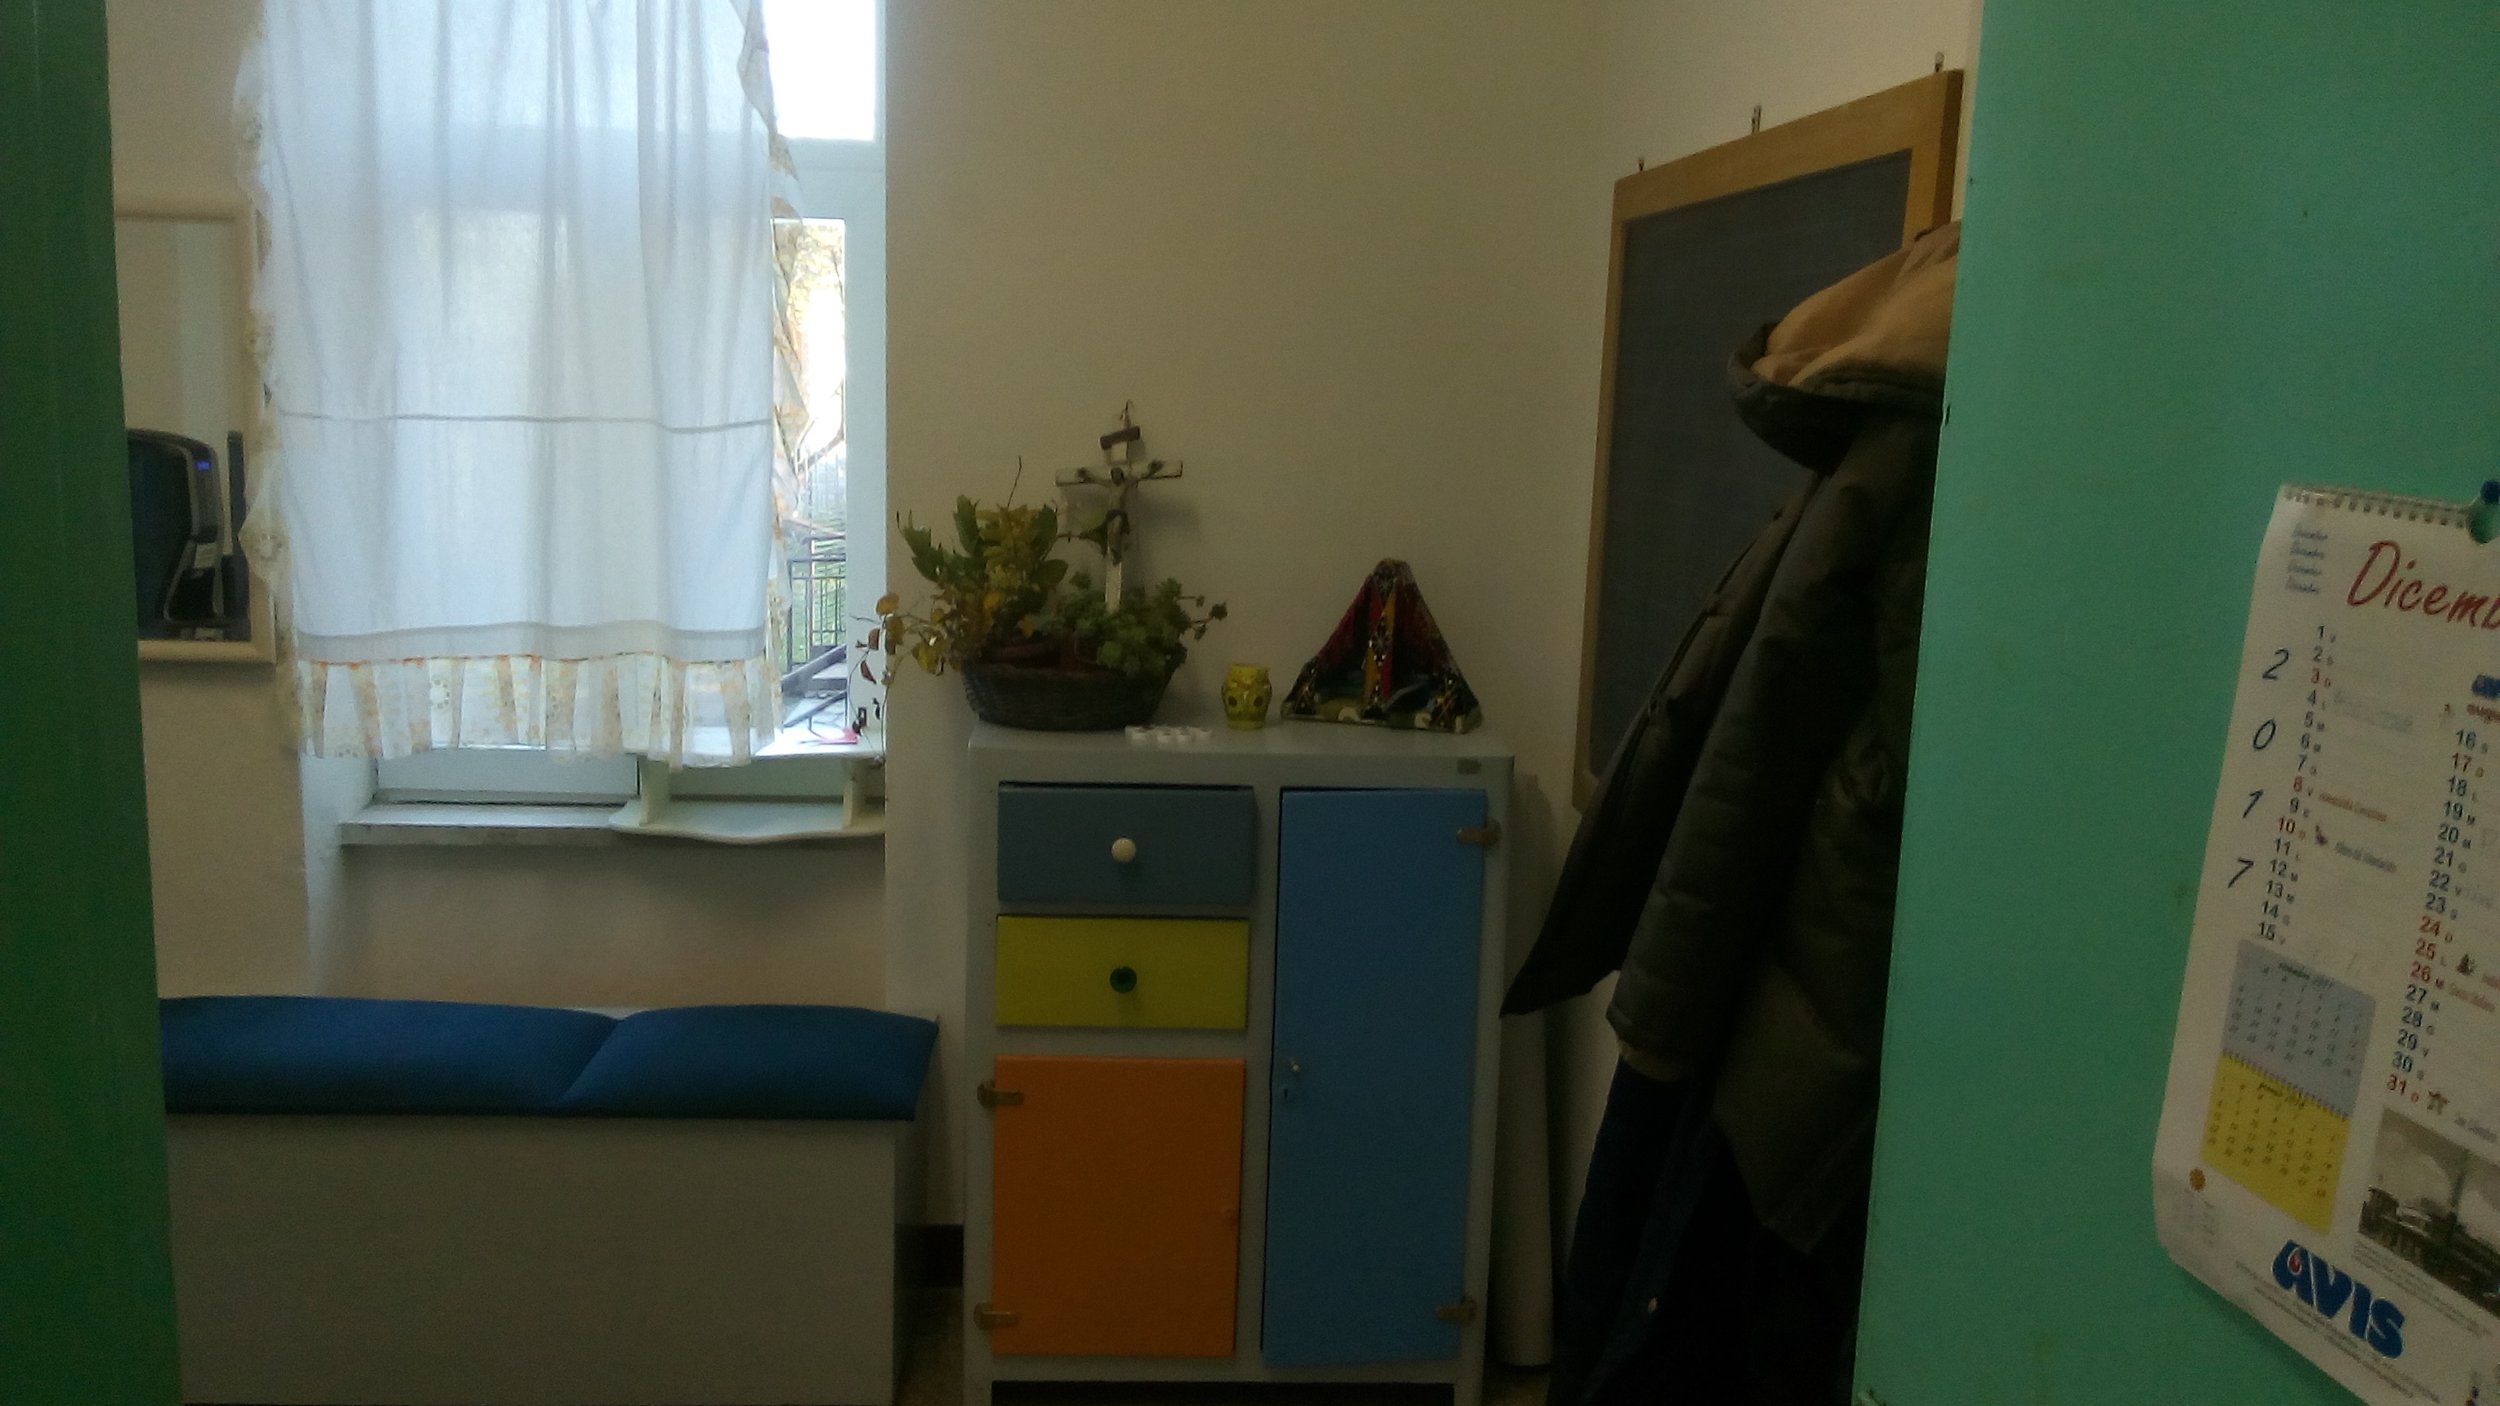
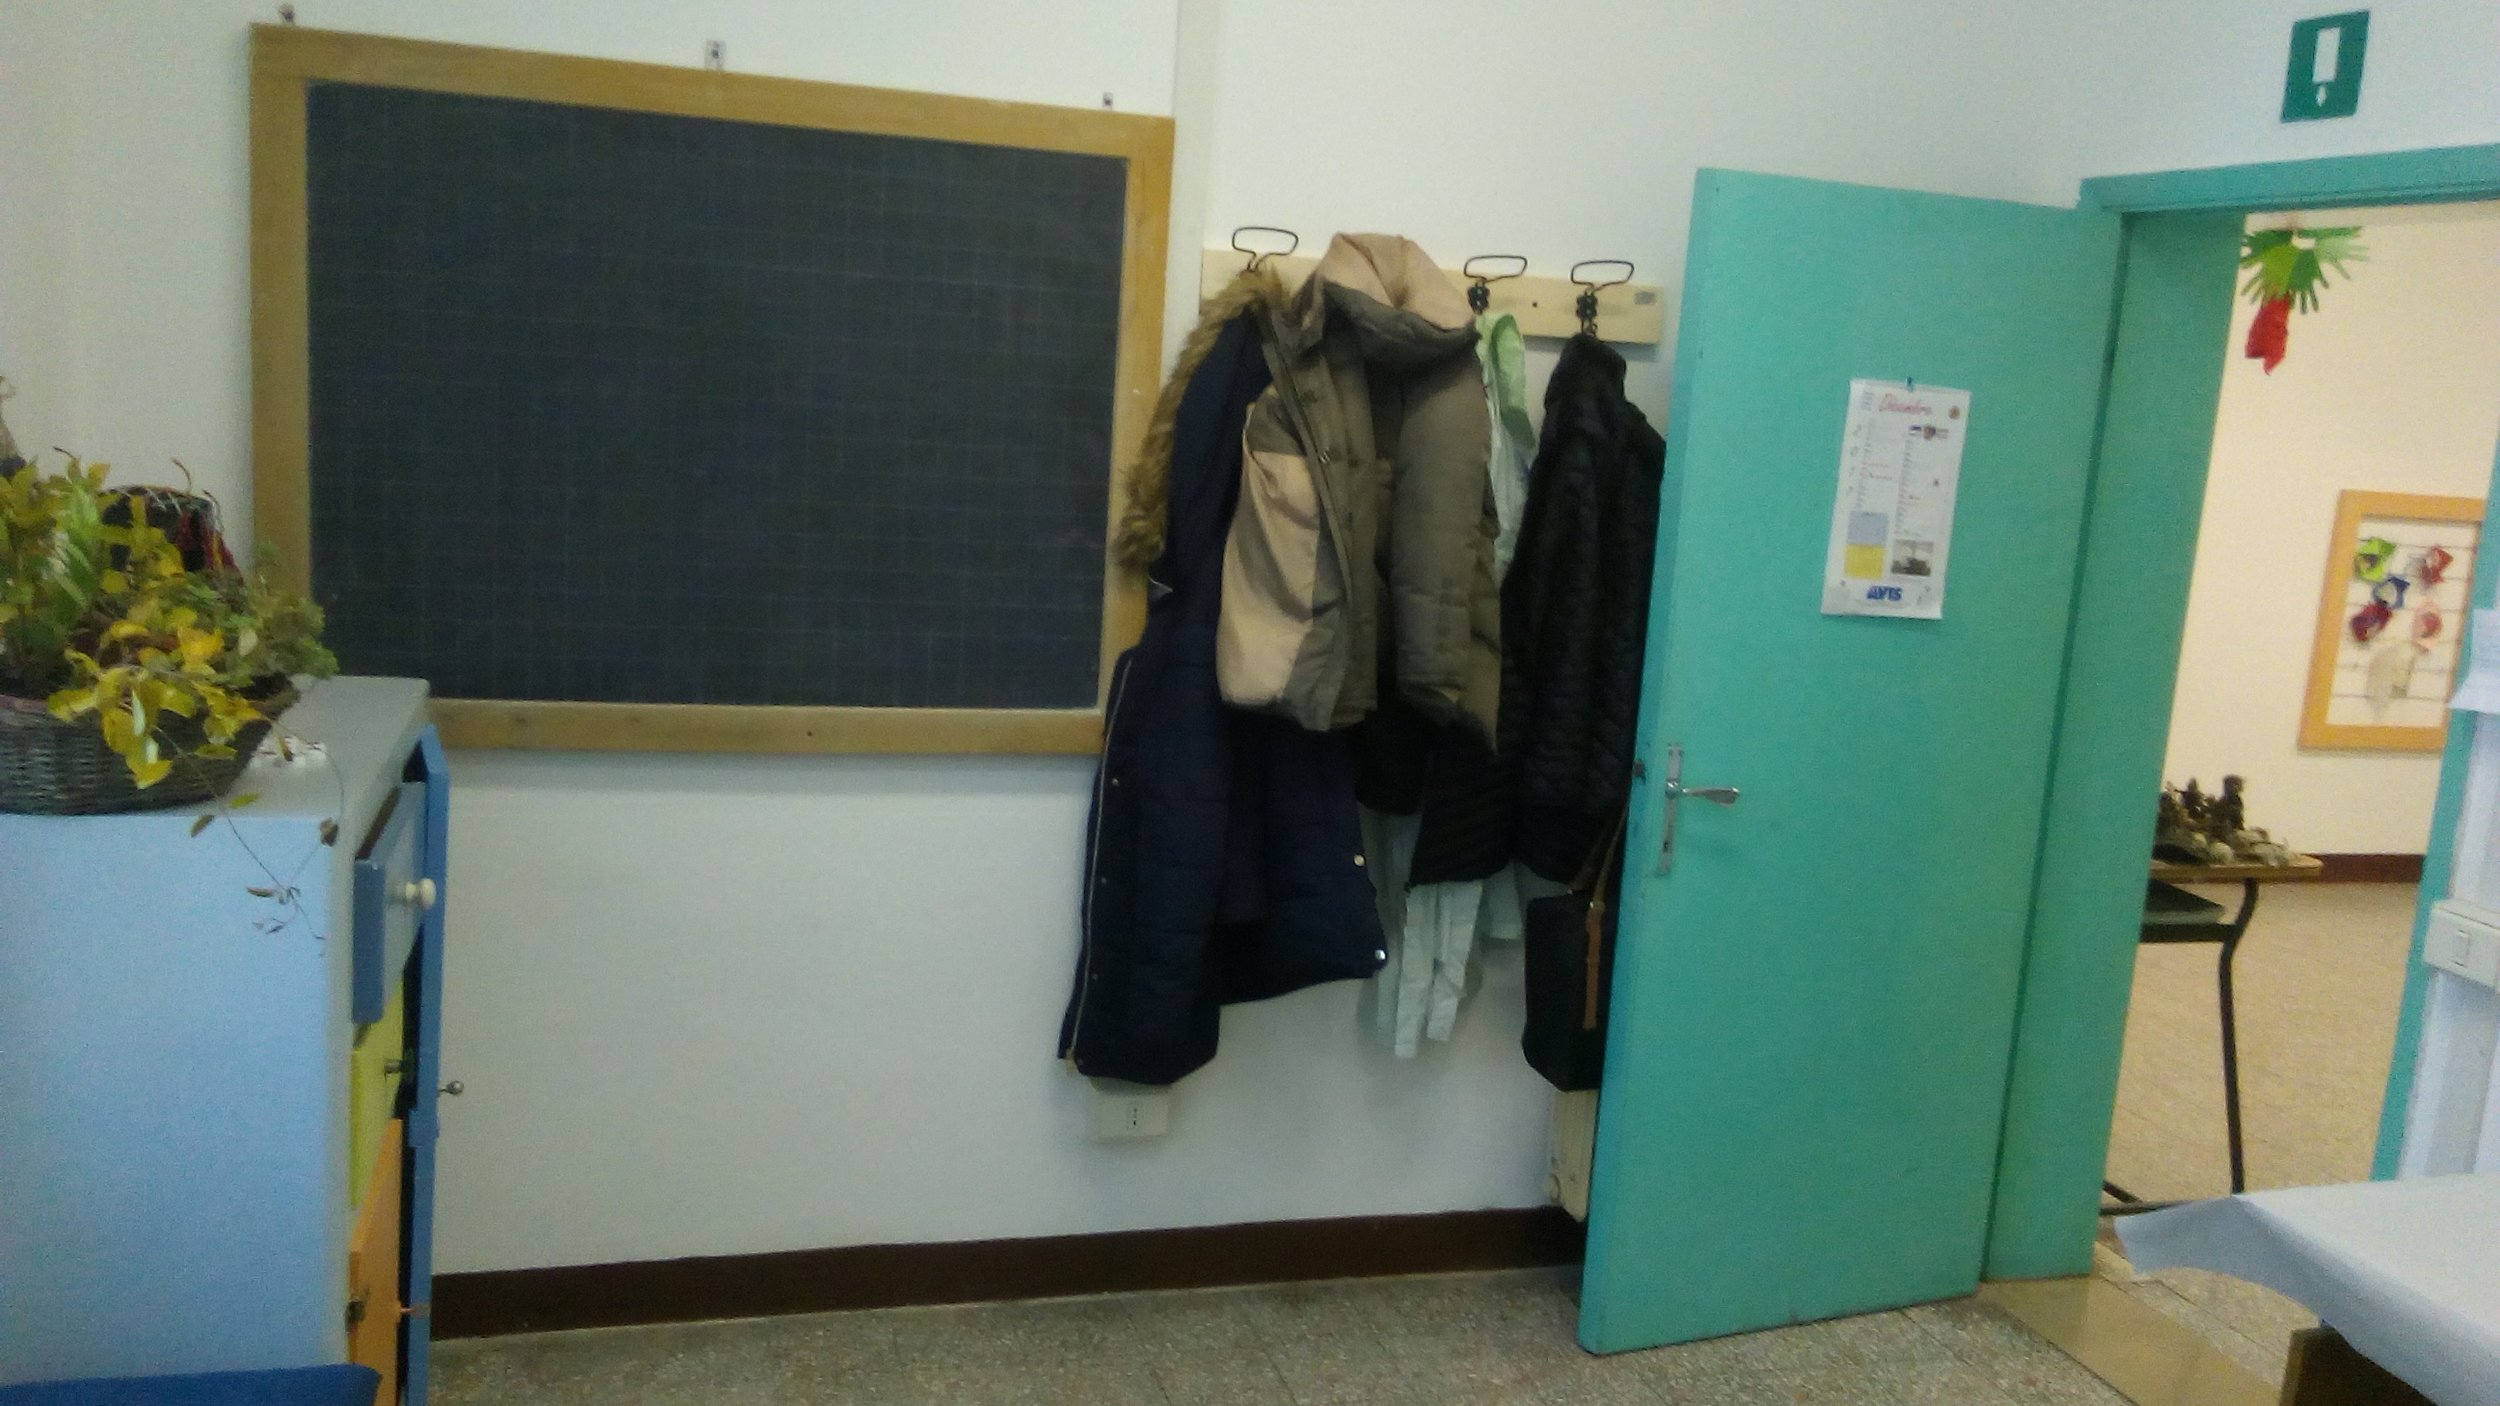
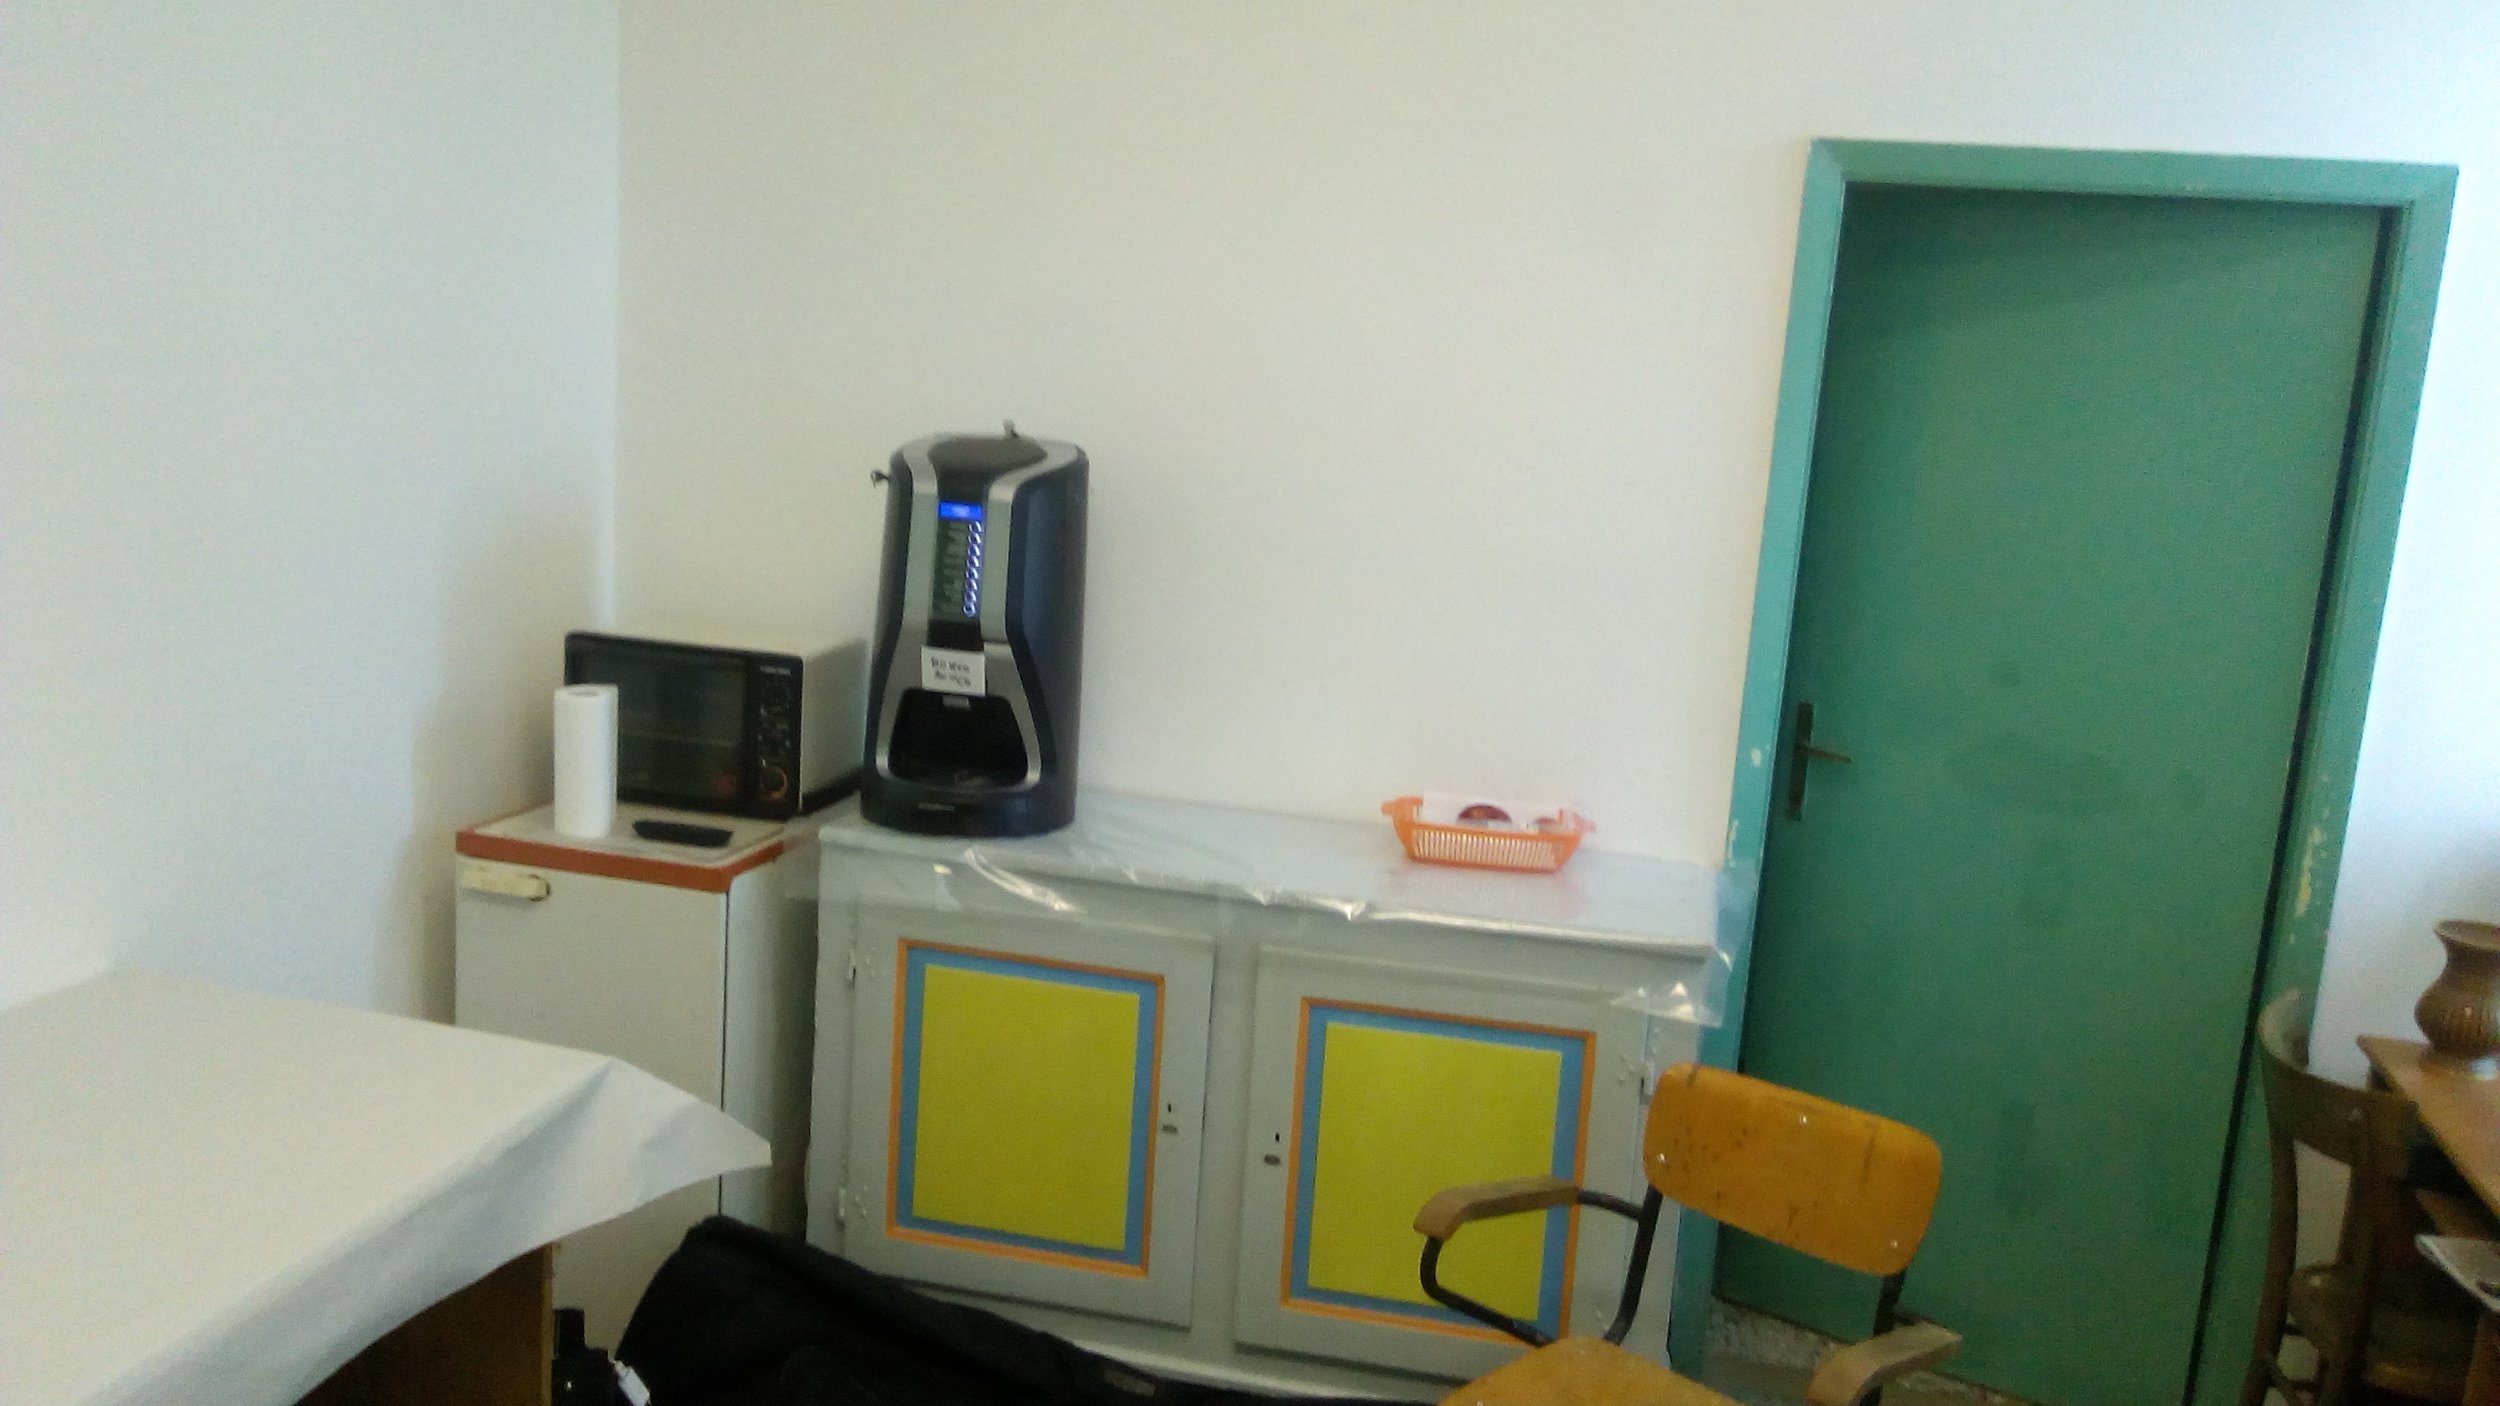
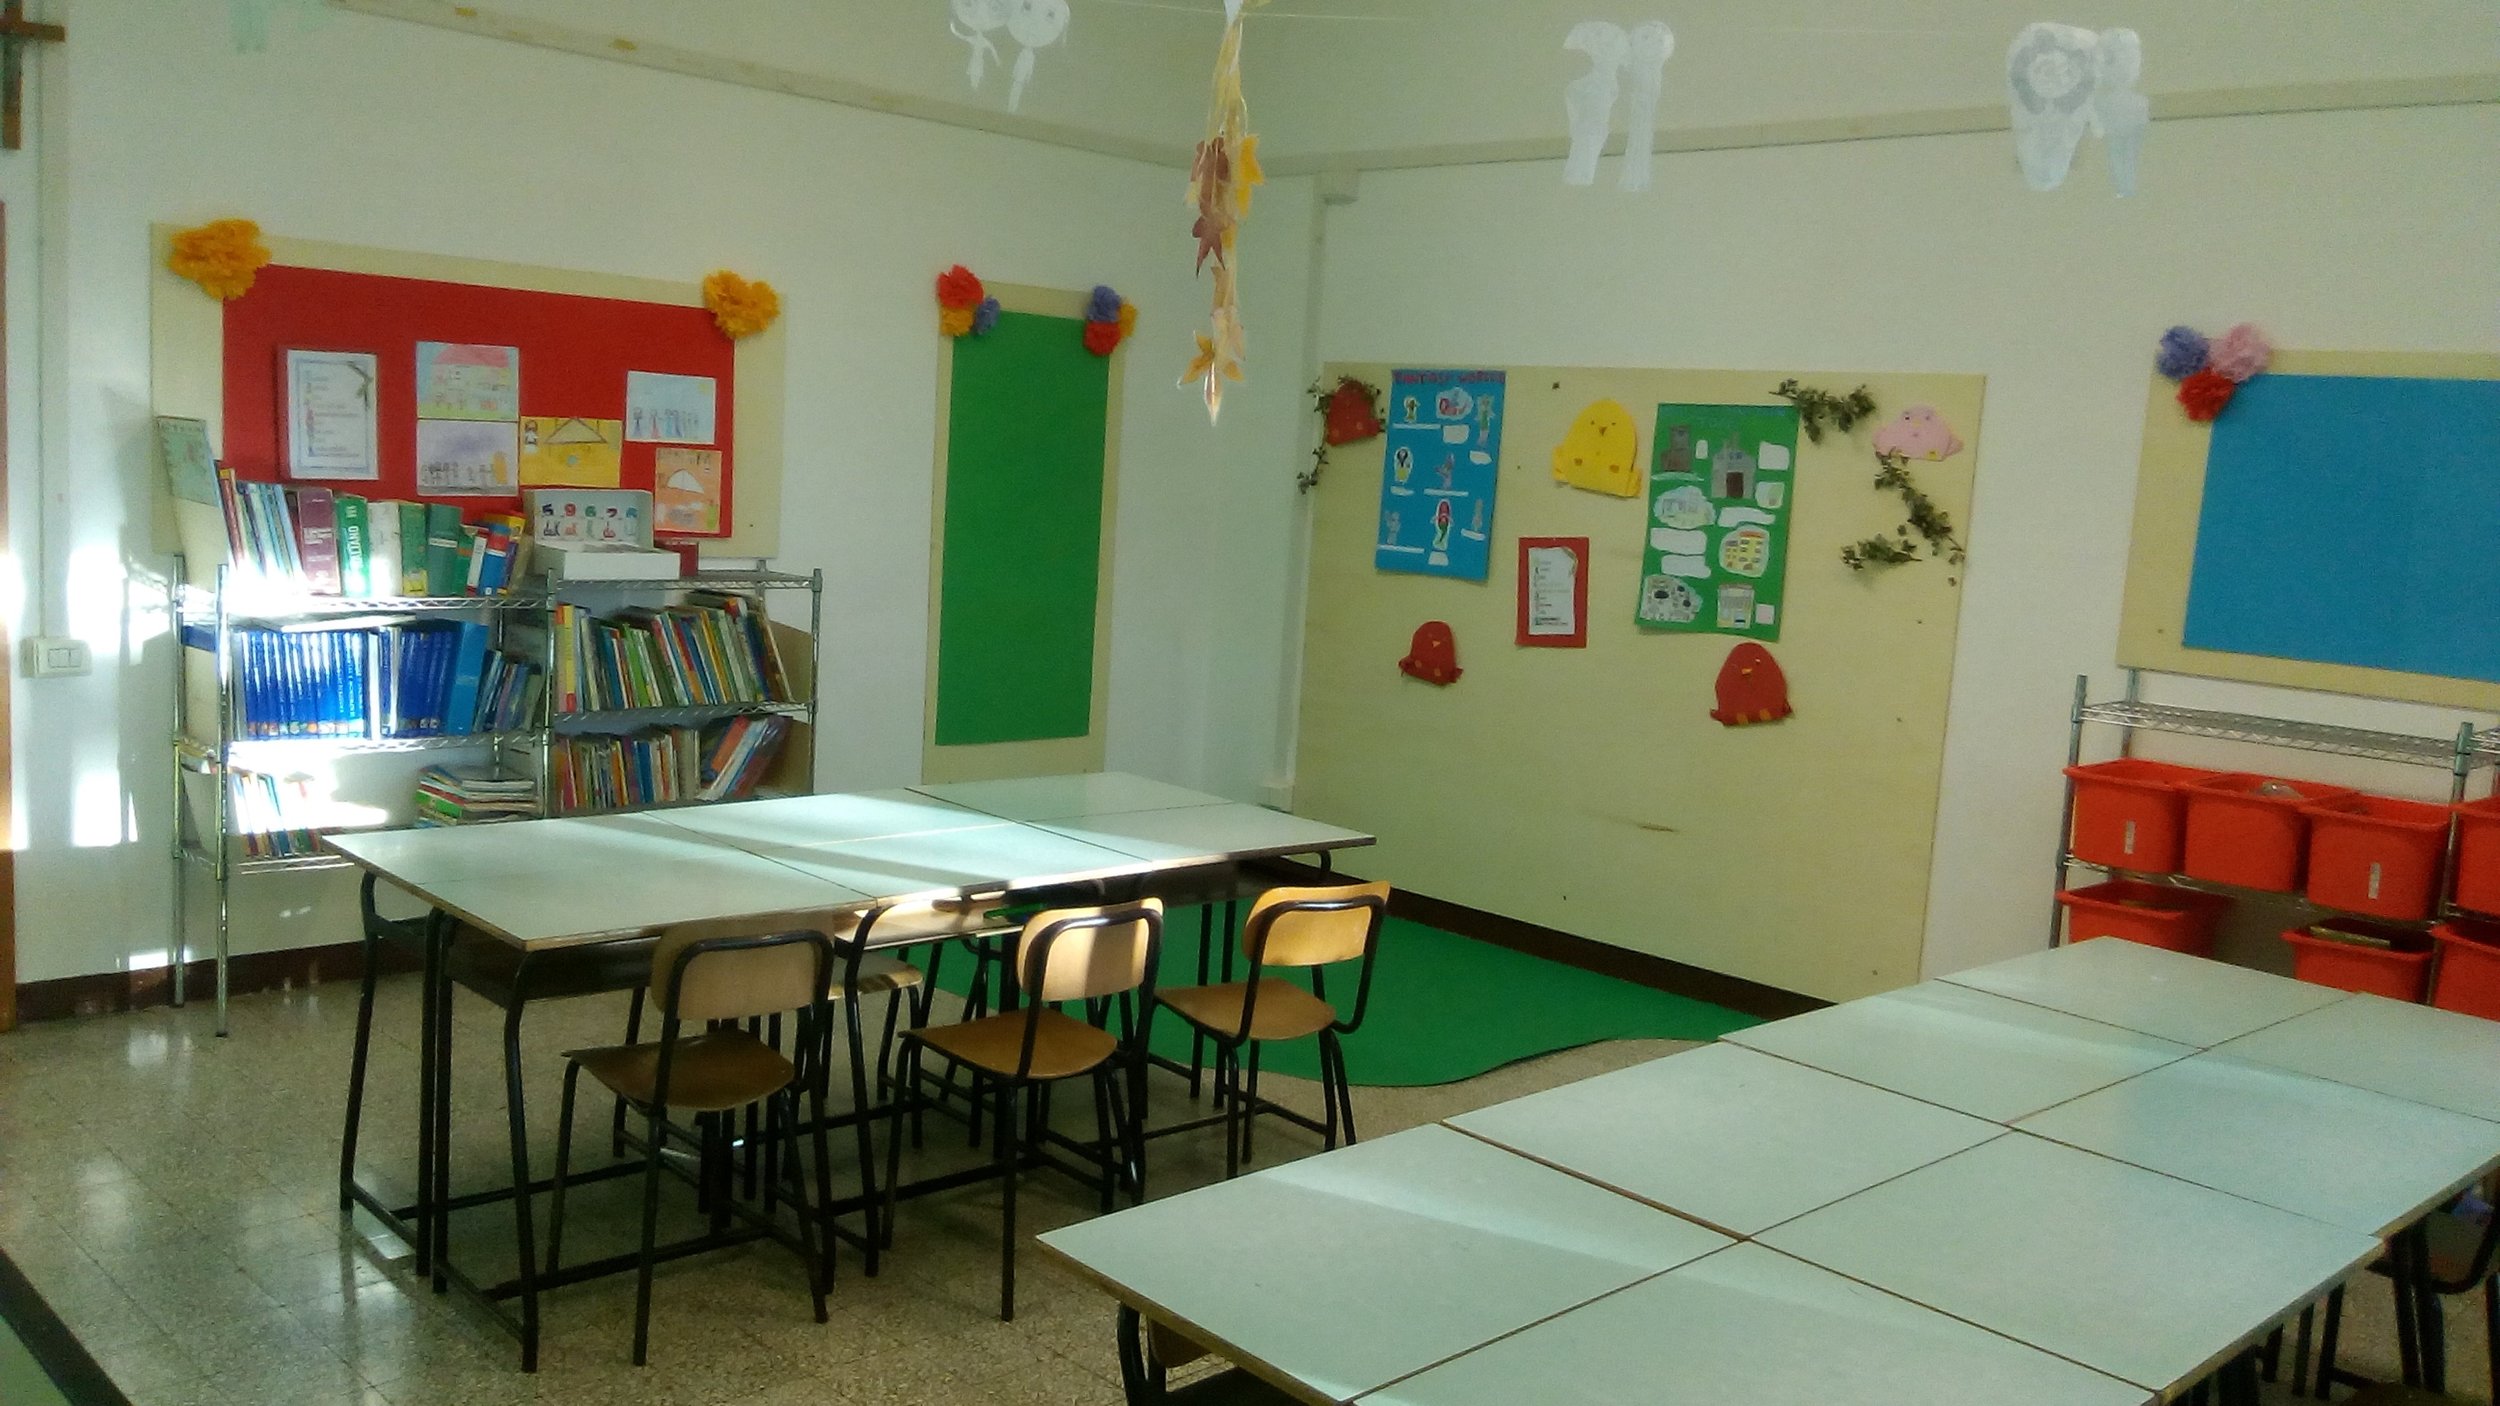
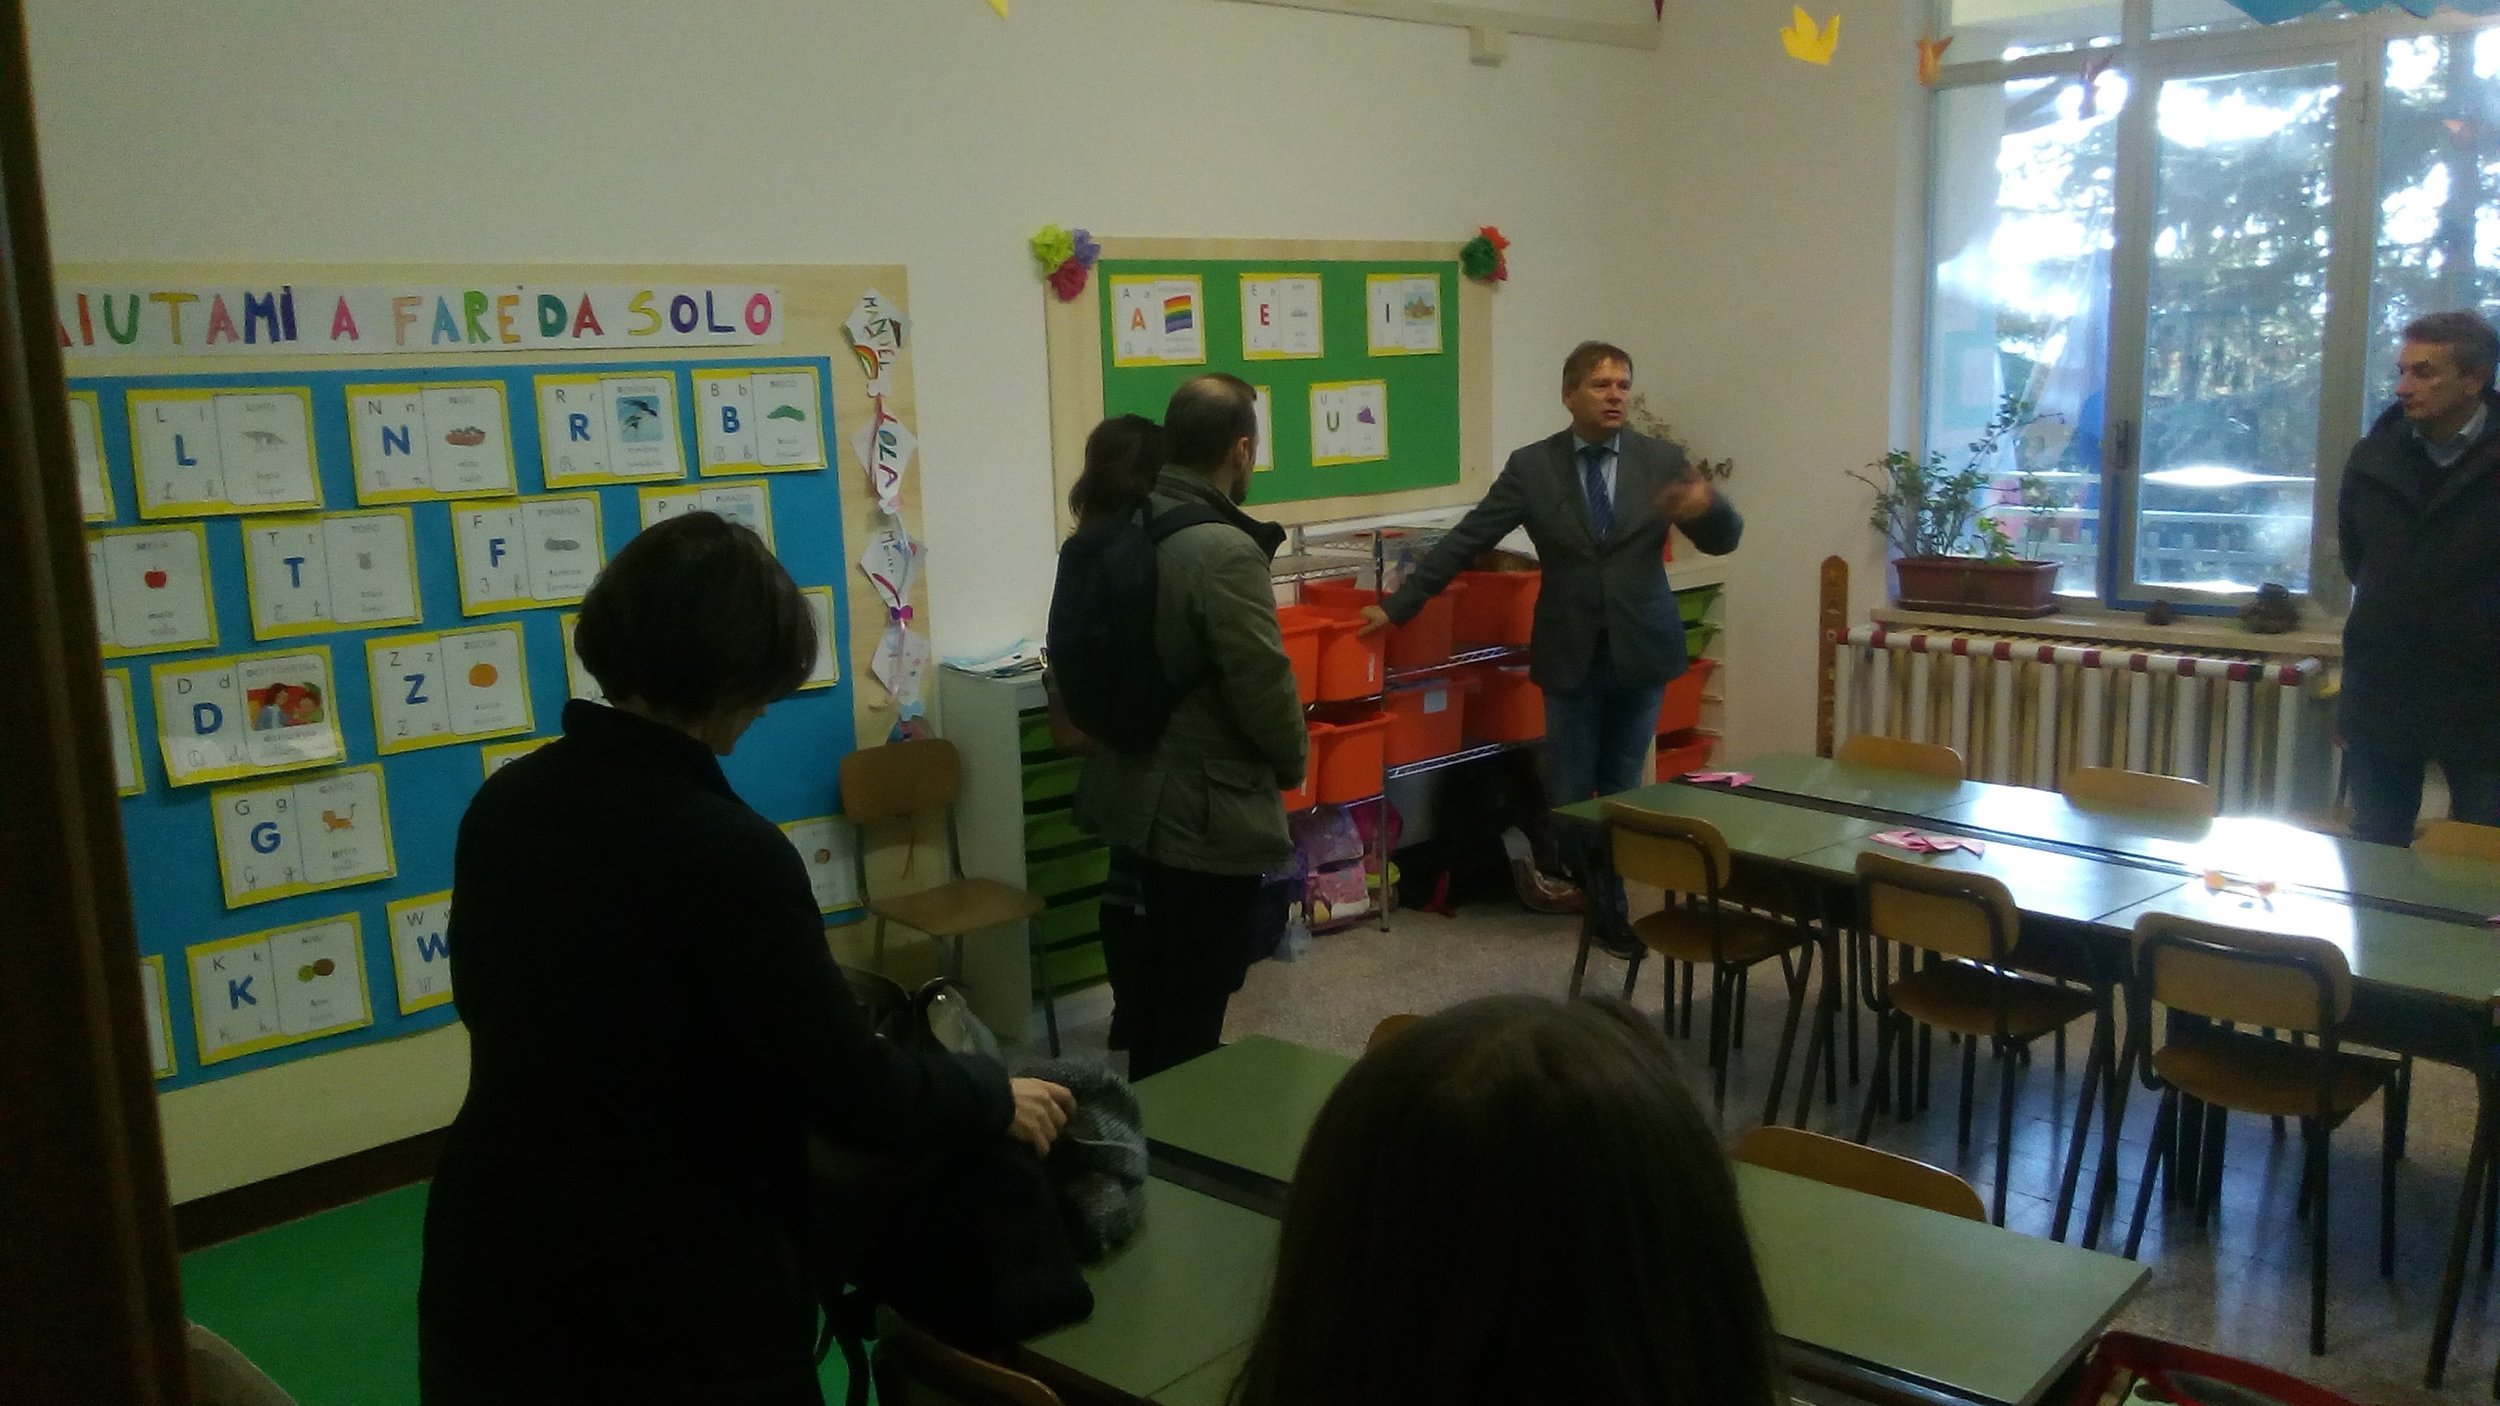
The inside of the school is soooo Much better, fresh and clean after all teh hard work of shifting and thinking that went on. So below a few picks, befores and Nows.  Many thanks everyone.

Watch out for Rimondato Summer - 2018.


Tool Workshop with Marcus

The following are tips and knowledge that we gained over the workshop. We felt that writing it in note format is the clearest way to convey what we learnt.

SAWS

The Pistol grip- pointing your first finger forward helps steady the saw and gives you more control.

To start, draw the saw up, the teeth of the saw will not bite when they are pulled. When you push the saw you have to be light, so that you do not dig the teeth into the grain of the wood.

Being light and not pushing too hard - The blade and its teeth do the work and cut the wood. Putting too much force on the saw will cause the saw to catch onto the wood and make it more difficult to cut. Therefore, being light and moving the saw through the full length is the most effective way to cut. 

Being in correct position is important - The elbow being in line with the saw is critical as it allows the saw to cut in a straight line with your whole arm behind it. If you have to stretch to saw, you will cut not cut straight.

Use of clamp- This is important as it holds the wood in place and reduces vibrations when sawing so there is less jump going against you.

Use the whole length of the saw - This way, all the teeth of the saw are used and therefore more of the wood is being cut. Using your whole arm and keeping the elbow in line with the saw will make it easier to do this.

DRILLS

Each materials, metal, wood and masonry, needs a different drill bit. These drill bits are differentiated by the shape at the end of the drill bit. 

Wood, Fine sharp points sometimes Three Pointed end

Stone, Blunt looking with a lug at the top 

Metal or wood, single sharp end often written HSS on the side High Speed Steel

Settings The drill we used had 3 speeds settings and 3 function settings, Ordinary drill,  Masonry / Hammer drill and screw driver. In screw driver mode there is a torque setting on the front that is activated, this automatically stops the screwdriver when it meets a level of resistance, 1 - 20. Using screws in fix plasterboard to timber needs a low torque setting so as not to make dents in the plaster board. The direction of rotation of the drill is also important a button on the right and left flick it from clockwise to anti clockwise.  It is easy to forget to change back into the forward setting after using the reverse setting. 

We used the drill mainly for making “pilot holes” to stop the wood splitting when using the impact driver.

IMPACT DRIVER- This looks like a drill but is a smaller, it is a dedicated screw driver with a hammer action that drives small or very large screws.

Screws and bits: It is Important to match the correct size bits as they with the size of the head of the screw. If not, the bit will either jump out of the screw head or the bit will become blunt or break. 

The speed of the impact driver is controlled by how hard you press the trigger, it is recommended to start at a slow speed at beginning then faster at the end. This is to ensure the bit does not jump out of the screw head. In doing this, the wear on the bit decreases and it is more likely to last longer. 

The shaft of the driver and screw must be straight so the driver bit does not jump out.

SANDING

Orbital sander - This hand held electric sander the pad of the sander moves in a mix of rotation and side to side, this ensures that there is not endless rings of marks left by the sand paper as happens with regular disc sanders.  It is great for sanding larger areas of wood painted or otherwise. The orbital sander has holes in that suck up sawdust into a bag. Velcro is used to stick the sand paper to the tool. 

It can be moved in any direction and you have more control over than a disc sander which tries to drag your hands in a certain direction. 

By hand - Sometimes it’s more suitable to sand by hand for smaller and more difficult to access areas. Sanding by hand, at an angle on edges and corners of the wood also helps as a greater area is covered and produces smoother surface. 

ANGLE GRINDER: 

The angle grinder has multiple uses. It can be used to trim metal, especially nails and screws. It can also be used to smooth metal surfaces and sand timber surfaces. This is because you can change the disks of the angle grinder.

To change the disks of the angle grinder, you need to press a button to lock the disk in place, then unscrew the centre disk holding the actual disk in place. A thin fibre cement and resin based disk can be used to cut metal, nails and screws, while a thicker ceramic based disk is best for grinding metal. A thicker sand-paper surface disk is used to smooth timber surfaces.

Using the Angle Grinder for sanding timber – Wit a coarse sand paper, the angle grinder takes more off the surface than the orbital sander. However, since it only spins in one direction, it produces a slightly uneven surface. The guard on the tool also limits manoeuvring when sanding. 

Using the Angle Grinder on metal - Grinding metal requires more technique since cutting metal creates sparks. These sparks are tiny hot metal particles; hence safety is important when cutting it. 

Positioning when using it - The sparks tend to go back and down to the ground but some go forward and to the left due to the guard. You must ensure you are away from people or at least that no one is directly in the line of the sparks. Goggles and earmuffs are highly recommended due to the sparks and the noise of metal grinding on metal.

The angle grinder requires a lot of control as it is a high-speed spinning tool. The spinning action can drag your hand in a different direction if you are complacent

PLANER

The planer tool is used to take off thin layers off the timber ie to plane surfaces. 

The adjustor knob at the front of the planer is used to adjust how deep the planer will cut into the surface of the wood. Control is key as this is a strong machine and can drag you in the wrong direction when you are not fully concentrating. You must ensure that the planer is flat or in the angle that you want when you use it. This is so that you can achieve an even plane. 

If the planer is not flat or in the right angle when the tool is on, dips can form in places. When this occurs, you will need to raise it slightly to overcome the dip and continue planning at the desired level.

Control is key as this is a strong machine and can drag you in the wrong direction when you are not fully concentrating. 


ROUTER

The router is used to shape edges of or cut grooves in timber. This is useful as it makes a consistent shape. We used it to take the sharp corner off the edges. It can help reduce splinters, grazes or cuts from the timber. 

The router bit is at the centre, while the router guide surrounds the bit. This guide is adjusted up or down. When adjusted to the right depth, the guide is held in place by a screw. 

Hold it in place to the edge you want to cut. It must be turned on first and then moved to the side of the edge and dragged in the direction you want. To turn it on, you need to press the button on the side first, and then on the front. 

It must be kept steady when it’s on as routed edges could become uneven. This particularly applies when you get to the corners. It is best to only drag the router backwards, left or right without turning the actual router.

MARK MAKING WORKSHOP & reflections

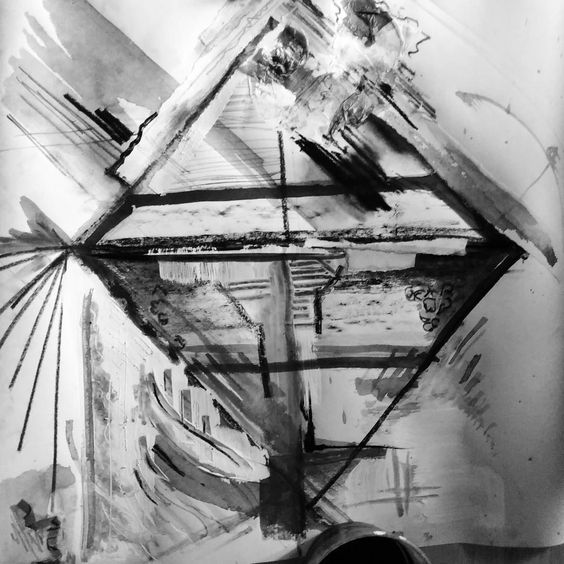
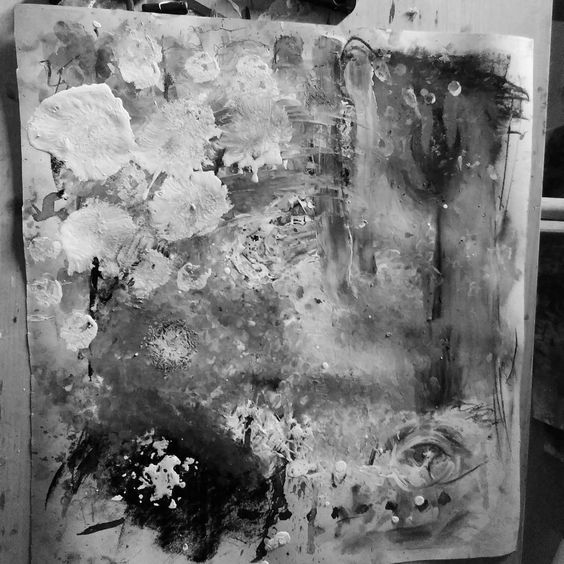
HANI - In our mark making workshop, we were encouraged to use varying techniques of shading and mark making on a piece of paper. This lead to the creation of our abstract pieces that were the culmination of some free flowing experimentation with a range of mediums, from charcoal all the way over to white emulsion. Although we started out the workshop chatting casually here and there, an intense silence fell on the room as we all became involved with our respective pieces.

The aim of this workshop was to allow us to explore techniques and mediums that we wouldn't have usually tried in our typical design process. By exposing us to these methods, Lucy has helped us think with a bigger palette and hence a more diverse approach to problem solving and representation within our architectural process. By making use of the relative lack of precision of charcoal crosshatch shading to suggest ambiguous volumes and the flow of ink drips to create lines that either divide, obscure or highlight patterns and rhythms within the drawing.

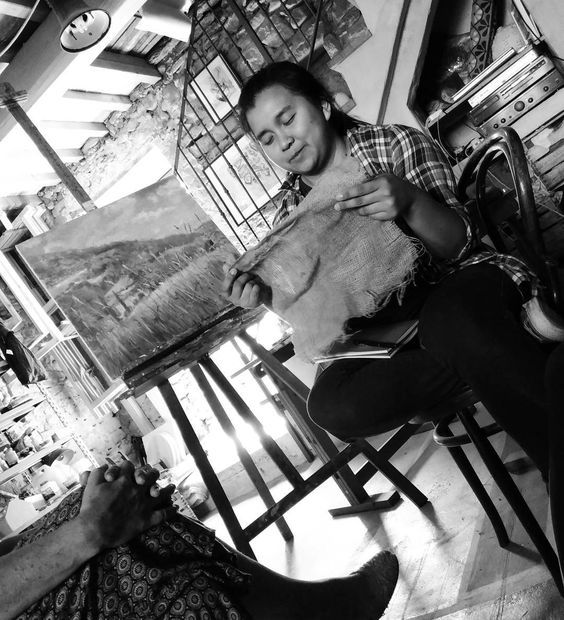
LUCY - A quick morning moving and filling an art cupboard at the school and picking up Hanifah from Perugia, A real strong urge to help the community through the school. I want to help tidy the stuff that needs to be put away and cleaned up. So far I have made some learning toys in wood, and decoupage a notice frame, helped paint a cupboard, and soft furnish a chest for comfort in the staff room.  Talked to Hani about an aspect of his architecture course in Manchester next 3rdyear; the atelier community centred design, which I think is a great thing for the future….also the architecture and planning course isn’t as dry as you would imagine, in fact it sounds pretty forward thinking! There is hope for the future.  That is what i mean about these events restoring my faith in humanity.  

I hope people have benefitted from the physical properties workshop I have developed, and then the mark making workshop; trying to build up their confidence using gesture; whole arm lines; watching pace of line, the intention of marks; incorporating different ways of making lines and letting the intuitive lead the development; cutting, collage, paint, graphite and ink, useful for perspective drawing, increasing contrast with confidence.  Interesting responses, (sal image please) . The learning cycle that started with an experience, then reflection, forming a theory and beginning again with an experience, continually developing…
love lucy

Weather the Director and new order.

The weather here is not unlike the experience of this project. The temperature had been rising until Sunday when a huge thunderstorm cleared the air and for a short while all was cool and calm. 

When we arrived we where welcomed warmly, all was calm. We, a mix of keen young architectural minds with helping hands and me a rag tag self build architect that like getting his hands dirty, seemed harmless, the teachers where in control.  Systematically however we have thrown any system they once had into chaos. But if we are like a storm, the Director is a tornado.

Monday 12am he arrived, an hour after me, then span around the school marking with tape where furniture will go, he then listed on a black board the furniture he needs to order for each space, then photographed it with his phone, Job Done….. The teachers where left with a sense of bidazzlement that new furniture was soon to be transforming their lives. The September change is REAL

For some of the teachers, this process has been TOUGH, which is understandable, it is not easy having strangers riffle through the private world in your cupboards. Respect is needed yet at the same time, efficency.

The storm has now broken the worst has passed. New furniture is on its way, cupboards have found new homes and have been filled with pens, pencils, rubbers, paints and art supplies. Classes are being re-arranged and the promise of a re-paint is on the horizon.

Marcus


reflections....

A few moments to see where we have got to!
If you can sum up where we have been with respect to not quite being at the end; in streams of conciousness....
Riddhi [team 1] - 'Learning from other people and making a 'family; living, eating, working together, creating new bonds, living simply. Learning about the relationship between drawing and making'. The language barrier has not been too diffucult and we rely on drawn communication and practice our communication skills more. For me it was good to meet people, live in a completely different place, comfort zone. It isn't a holiday but still been really interesting'.
Peter [team 1]- 'We have the chance to do real world projects for real people, might not be enjoyable all the way through but gives a glimpse, a more rounded picture. Get to know people and how people operate in working and social situations. Excited about being in Italy and going on to travel. Great for skill sharing.'
Lucy - 'I always enjoy doing the mark-making workshops, materials workshops and being there when it 'clicks'! Making a counting toy, faith in humanity always comes up trumps; people being good and wanting to do their best; lots of learning opportunities'.
Sally [not long arrived] - 'Amazing to 'land' in the middle of happy, hot and incredibly scenic industry on many levels; strategic designing, making, playing and experimenting....fresh figs, pasta..might be in a sort of paradise; will pinch myself and come back'
Sally [back]  So; I arrived very easily and met by Marcus and Pete.
Back to Rimondato and it has changed very much from when I was last here and it is wonderful to be back. Hot though. Straight into a catch-up on the project, dinner, parlour games werewolf, mafia and psychiatrist...Seeing familar faces of studio 2 [facebook], Riddhi from MArch and Hani [ASAP]. V good to be here.
Set up an Instagram intention to post every night: https://www.instagram.com/tangentfield/?hl=en #rimondato
 

Learning by Doing

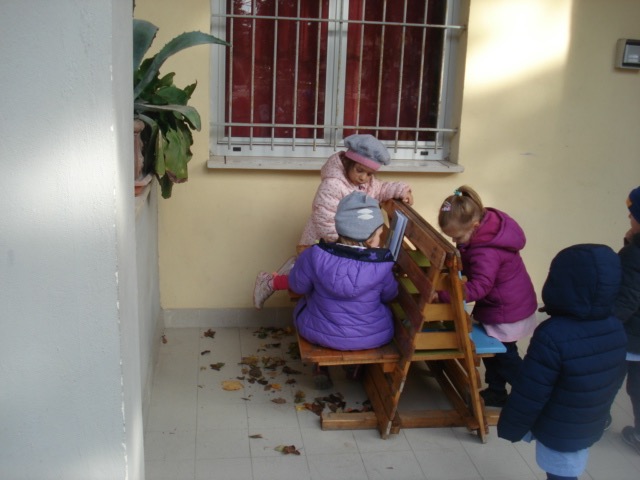
Library Seat. Myself and Yancy chose to address the lack of seating and areas for activity outside and the suggestion for an outdoor library. We decided to work together to creat a bench that would serve as somewhere to sit and read, as well as somewhere to store books. We came up with many iterations before eventually building.

Working as a pair

By working as a pair we were able to learn from and help each other. Previously we have both done little working with wood and machinery, so working together gave us opportunities to ask each other questions on how best to use a particular tool or how to improve the design. We have had many a discussion on which variation would not only be best for the design aesthetic, but which would be simplest to build or provide the lightest and safest structure. With the two of us working together we asked more questions and were not only able to push the design, but also ourselves and our own thinking. 

We made sure that we allowed each other to use all the tools and develop every skill as the other. 

In saying that, teamwork hasn't allowed us to explore a separate design, and there may be a lack in our independent development.

1:1 scale

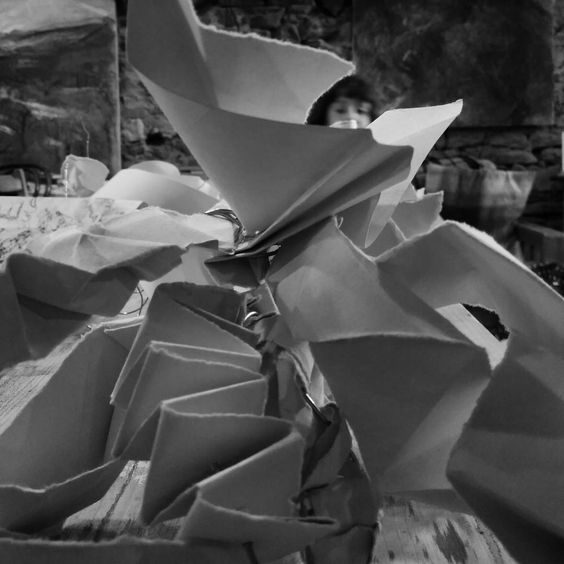
We found that using models at 1:1 scale, as well as drawings on paper, helped provided solutions for problems that arose. We used scrap bits of wood to create a 3D view of possibilities; allowing us to effectively communicate our ideas to each other and highlighting other possibilities that pen and paper couldn't have done alone. 

Actual size models also allowed us to see what materials were of good enough quality for the final product, and if they weren't quite perfect we sought ways to improve them so that they were usable. The pallets took a lot of work to match up and manipulate to suit our design - the spacing in between the slats of the varying pallets partly informed the design.

Using tools

The tools workshop with Marcus gave us an understanding of how the tools worked and how to use them safely. With this knowledge we could start safely preparing and assembling materials for our project. We found there were several methods that could be taken to achieve the same result - when dismantling the pallets, a hammer could be used to knock off the blocks that weren't wanted or a chisel could be used to break the blocks off. By directing the hammer at the block from a direction that levers the block off (along the slates that the block is attached to - not perpendicular to them), and by not putting so much leverage on the slats we were trying to save, the slats weren't damaged as much in the process, and the pallets came apart easier/with less effort. 

Things that seem obvious, like holding the hammer in the right place and aiming the chisel at the side of the wood that would split, are lessons that we learnt through the whole process.

Learning from mistakes

(and eventually finding or being told of the best method)

Even after gaining knowledge from the tools workshop, applying our new skills to a particular situation wasn't as obvious as we'd thought and hoped. We were autonomously learning; the same type of learning that we are encouraging with our design work for the school. After struggling a little or testing different methods, if we still hadn't found a suitable method, assistance from Marcus, Sally or another member of the group would put us back on track.

The overall experience so far has been really enjoyable, therapeutic and informing - even though I've been covered in a layer of sweat 24/7.

Carys Marshall

Slide04.jpg

PIZZA NIGHT


HANI - As the sun sank into the bossom of the Umbrian hills, we gathered round the pizza oven at the back of the house as it radiated heat. Within minutes, the pizza, wine and music was flowing in all directions. We were celebrating Lucy's birthday, and we were soon to begin celebrating Denise's the following day and I must admit, the music was absolutely fantastic that night, thanks to the DJ- whoever that was...

A TOUR OF THE CITY

Peter Covell 8:00 am and the dramatic notes of the piano resonate around the house and draws us reluctantly from our slumber. Still, it puts you in a better frame of mind than your typical alarm and its always followed by the hissing of coffee working its way through the espresso pot.

Not wanting to be late a second time for Massimo, the School Director, we all pile in the car and zoom off to Citta di Castello. Massimo is acknowledging our efforts with a personal tour of the city, releasing golden nuggets of architectural wisdom on the way. He pointed out how the archways can be read, with each type representing a different period of time in the city's evolution. He linked history with architectural typology, showing us towers strategically demolished due to the threat that arose when gunpowder was invented. We saw the a grand palace built by an influential 15th C family and listened to the story of the lady who dropped her hanky on the men below... We saw a 500 dead saint and deconstructed a painting by Raffaello.

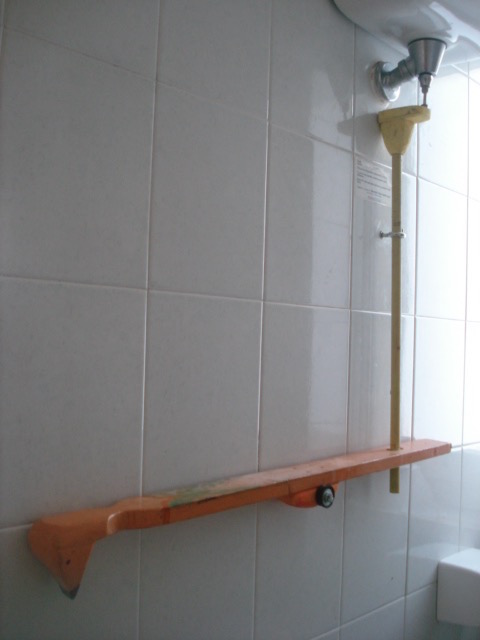
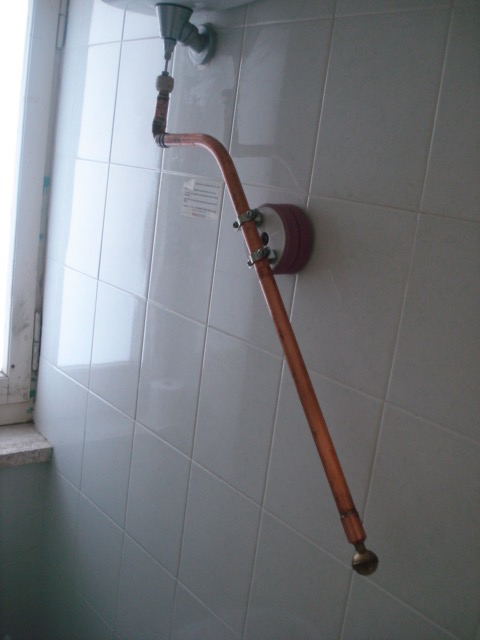
Ice cream for a welcome burst of energy then a fruitless search for hoop screw for Rhiddi's toilet flush intervention. Back home for sandwiches and a siesta. The evening was spent on our making projects-painting, welding, sawing and glueing what we broke. Not to mention running Marcus's new plane through a screwhead.


CLUTTER.....

All  has disappeared into a sea of boxes, old books tat and disorder. I am beginning to think what have I got my poor students into, can I really justify all this box shifting and cupboard emptying as DESIGN or Make? (hard sell needed)

Everyone worked hard today ferrying stuff up and down. Thank you team, you have done such a great job. The Maestra agreed that there is 20 years worth of collecting, hording gone on… (we are maybe half way).
How does this really fit into the design process, does it have value?
Having thought about it since, I believe the value is in engaging with your community, you have to get stuck in to achieve change. It is easy to talk about doing things and hoping someone else will do the dirty work. With that approach it is easy for nothing to happen and rubbish to gather.  As architects we often imagine what may be on the shelfor in a cupboard. Today we have seen the reality of what people put on shelves, in boxes and in dead end corners.
Space and objects need to have life and movement   

I hope, if we make the right design the clutter will not gather again.

Thanks againMarcus


ON THE TOOLS

Rob Daniel.  After piles of information absorption within the first 4 days –  Friday began with a late start but soon got off to a buzz when an array of power tools where whipped out for us to test and experience how they work; routers, drills, saws... We also explored different recycled materials nustering and using whatever we could lay our hands on!

Rob initiated assembling the design of a multifunctional robust table/storage unit. He soon discovered that the detailed connections did not function as the design did, as there were arising problems. Following on from this, more solutions/issues were ascending that achieved a range different techniques including a more complex exciting table solutions. The discovery of a table that can fold over so both sides can be used in different ways. (pictured)

Pete started by defining the constraints of weights as the structure was soon discovered to be too heavy. He needed to find a way to minimise the weight of each planter to allow each planter to be raised and lowered on a devised mechised raising and lowering system. Pete then spent some times therapeutically stripping the insulation from mains electrical cable and using a drill to wind the three copper wires into a stronger chord which will link the planters together. More design iterations were made in the sketchbook awaiting the sourcing of bicycle parts for the raising/lowering mechanism.

PRESENTATION 2 - with the children

Riddhi10am.  We arrive at the school bright and early. The children of Monte all come into the hall greeting us with “bonjourno” and smiles. They are all, by now, quite familiar to us – we’ve been around 3 days with our cameras, measuring tapes, sketch books, including sharing the delicious 3-course lunch meals and making our best efforts to breach the language barrier with hand gestures and speaking the little Italian we have been absorbing, and the classic way - speaking English in the Italian accent.

Before we start with the slideshow, we distribute copies of the plan of the school and ask the children to map with a line the routes they take for their everyday activities like from entering the school to the location of where they hang their coats, their respective classrooms to where they have lunch. We also ask them to star and draw in their favorite spaces and activities. It gives us an interesting insight into spaces dearly loved and the ‘not-so’ used spaces.

We proceed with the slides of various possible design ideas for various spaces with pictures and diagrams they can understand and we can see the excitement build (on both sides) as they respond to our question – which would you like to see happen first? – by picking fairly all the slides!

It’s all well timed - as we are about to finish, we here the lunch bell (un-planned of course).  Jonathan Rob

PRESENTATION 1 - first ideas with the director

Back at Monte, we presented to the Director a consolidation of the schemes he has employed in the two other schools and a synopsis of our early design responses. The meeting was well received and many approving nods and flamboyant hand gestures where seen. Given the go-ahead from the Director, we spent the afternoon taking notes around the school. We took an inventory of useful furniture, measured rooms, defined the site boundary and assessed options for spatial rearrangement.

The afternoon was enjoyed at base, recharging our minds by taking on some physical work. We shifted 12 barrow loads of sand down the garden to level a base for the paddling pool.  Rob Daniel

OUT & ABOUT

After an icebreaking dinner the previous night, we met with the director of the communes schools for a long day ahead. At San Pio, the first destination, the director briefed the five of us on his ideas on schools and his system. This followed by a tour of the school, showing us his ideas for child autonomy and ‘body and mind’ system. It did not take us long to see the real difference in organization between both Monte and San Pio – San Pio taking the win. Not only did the level of organization ignite a smile on our face, but the altitude of thinking behind the use of space. It became apparent that this was a vocal point to make San Pio an exciting place to learn. We took many ideas away from the school, such as the times table staircase, laboratories, free spaces and coloured walls for concentration etc.  Rob Daniel


Once the tour of San Pio was completed, we went on to the school of San Filippo, an historic school with exciting architecture. This school, under the control of the Director has successfully introduced a contemporary learning atmosphere within the precious context of ancient buildings. History is a force of identity for the school, with the Director taking great pride in reading aloud the architecture. A vertical garden employed within a courtyard as a response to the lack of green space in this inner-city school.

Piadinas for lunch and back to the ranch for some late night presentation preparation.

ARRIVAL & BEGINING

Peter Covell4AM MONDAY... 

Rob, Jonathan and I arrived in Umbria, looking dazed after a 27 hour journey. Riddhi was polite enough to arrive midday, saving Marcus vital archi-reflection time. 

6 hours later, the 5 of us were greeted by the flamboyant headmistress Guiseppina at the Borgo Antico school. There was little time to get our bearings before a plate of pasta arrived; and another plate, and another plate. The lunch was eventful in itself, which required a certain amount of endurance, but was the ideal way to become familiar with the order of the school.

Pete


school tour

school tour

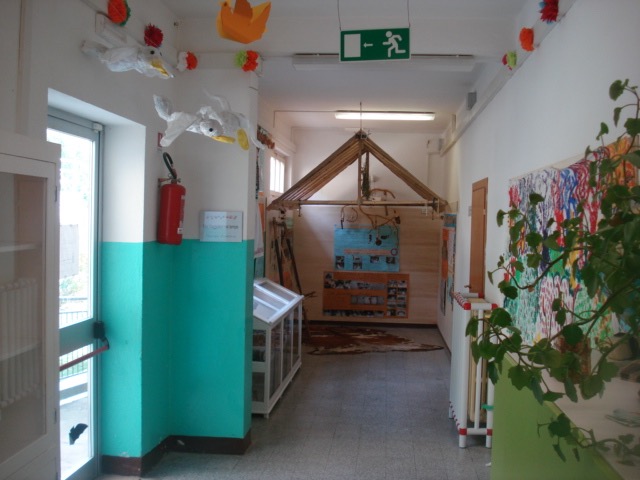
A guided tour of the building with the teachers identified some issues with the current setup. The creative output of the school seems to be double edged sword as high volume of work lines the walls, creating a strong sense of identity but work is not rotated and many pieces have lost their relevance to the current students. Various neglected spaces have become homogeneous material stores and are filled to the brim with lots of the same stuff that is impossible to use and poses a fire hazard. 

Back to Marcus's house for a welcome dinner with copious amounts of wine.